×
- Live Chat
- 1-888-984-2011

My Garage
My Account
Cart
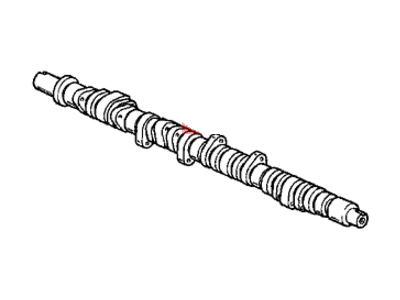
Genuine Honda Del Sol Camshaft
Cam- Select Vehicle by Model
- Select Vehicle by VIN
Select Vehicle by Model
orHonda
Del Sol
Year
Select Vehicle by VIN
For the most accurate results, select vehicle by your VIN (Vehicle Identification Number).
8 Camshafts found
Honda Del Sol Camshaft
In search of affordable OEM Honda Del Sol Camshaft? Consider browsing through our extensive inventory of genuine Honda Del Sol Camshaft. Not only do we provide market-leading prices and a manufacturer's warranty, but we also pride ourselves on exceptional customer service and swift delivery.
Honda Del Sol Camshaft Parts Questions & Experts Answers
- Q: How do you check camshaft endplay and runout, and How to remove and install a camshaft on Honda Del Sol?A: The end play of camshaft has to be checked as follows, fit the camshaft and tighten the caps, then having put on the head of the engine a dial indicator with the contacting side of the gauge plunger touching the nose of the camshaft. With the large screwdriver place the camshaft in forward and backward position and note the dial indicator reading and compare with the specified endplay. If the reading is higher, it indicates the camshaft or the head is worn out and it should be replaced as may be required. For camshaft runout, place it between V-blocks and place dial indicator against the center bearing journal and rotate the camshaft noting the variation in the runout and compare to the permitted limit; a camshaft which goes beyond the limit must be replaced. To pull the camshaft, you have to take off the Valve Cover, and set the engine at TDC for number one cylinder and also to remove the Timing Belt. If required remove the sprockt bolt to split the sprocket from the camshaft with lock to the camshaft rotation. Lift out the camshaft, number the caps on the camshaft bearing if they do not yet feature such a numbering and clean the camshaft, then remove the camshaft seal. Check the camshaft bearing journals and caps for scoring and wear; if the Cylinder Head is worn, replace it; check oil clearance with plastigage and replace the camshaft if any journal is out of specification. However, rubbed surfaces of cam lobes, signs of score marks or uneven wear justify the use of a new camshaft and particulars causes include lack of oil or use of dirty oil. It is recommended that the height of the cam lobe be measured with a micrometer and that the Rocker Arms should also be checked for wear. If there are problems, find out the root of the lack of lubrication or unhealthy oil before replacing parts. To install, The camshaft, bearing surface and the rocker arms must be clean, but before installation, the camshaft; bearing surfaces and lobes must be coated with assembly lube or moly-base grease in order to avoid damaging the components during starting. Slowly position the camshaft into its place, put a new camshaft seal with its vent side toward to the inside then put the rocker arm assembly. As usual, rotate the camshaft where necessary and install the camshaft sprocket with the "UP mark" at number one position, timing belt and other components if removed with crankshaft position sensor restored if interfered. Pull the spark plugs and turn the crankshaft to check the correct timing of valves tumbling; if the timing mark is scattered after two full turns, adjust the timing mark. Last but not the least on the steps of installation, it is done in the reverse manner to the removal process.


