×
- Hello
- Login or Register
- Quick Links
- Live Chat
- Track Order
- Parts Availability
- RMA
- Help Center
- Contact Us
- Shop for
- Honda Parts
- Honda Accessories

My Garage
My Account
Cart
Genuine Honda Del Sol Brake Disc
Disc Rotor- Select Vehicle by Model
- Select Vehicle by VIN
Select Vehicle by Model
orMake
Model
Year
Select Vehicle by VIN
For the most accurate results, select vehicle by your VIN (Vehicle Identification Number).
3 Brake Discs found

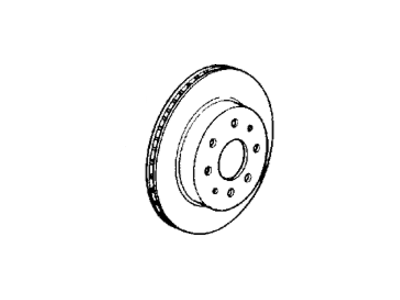
Honda Del Sol Disk, Front Brake
Part Number: 45251-SR3-A01$88.73 MSRP: $128.60You Save: $39.87 (31%)
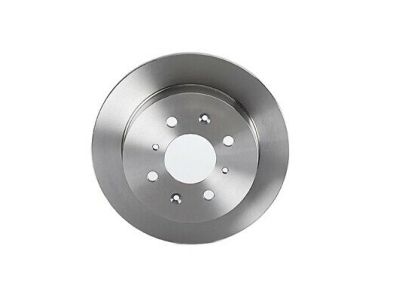
Honda Del Sol Disk, Rear Brake (Clear)
Part Number: 42510-SR3-A11$91.05 MSRP: $128.60You Save: $37.55 (30%)
Honda Del Sol Disk, Front Brake
Part Number: 45251-SCC-901$91.05 MSRP: $128.60You Save: $37.55 (30%)
Honda Del Sol Brake Disc
In search of affordable OEM Honda Del Sol Brake Disc? Consider browsing through our extensive inventory of genuine Honda Del Sol Brake Disc. Not only do we provide market-leading prices and a manufacturer's warranty, but we also pride ourselves on exceptional customer service and swift delivery.
Honda Del Sol Brake Disc Parts Questions & Experts Answers
- Q: How to replace brake discs equipped with them on Honda Del Sol?A:This procedure is relevant to brake discs both at the front and at the rear of vehicles with such a system installed. This activity should be started by removing the wheel lug nuts , lifting the car and placing jack stands on it securely. Take off the wheel and secure the disc with two lug nuts each of which has a 3 millimeters thick washer, if the retaining screws of the disc are not yet in place. In case of rear discs, depres the parking brake. Subsequent to this, loosen the bolts on the Brake Caliper, and then pull it off the brake rotor but not the brake hose and then use a wire to set up the brake caliper aside. Examine the disc surface for scoring; light-moderate scoring of the disc is perfectly acceptable and may contain minor scratches and grooves; deep scoring in excess of 0.015 inch needs re-establishing. If pulsation during braking is observed, the disc runout should be investigated by placing a dial indicator about half an inch from the outer perimeter of the disc, and securing it with the retaining screws or lug nuts. The indicator reading should not exceed the specified allowable runout limit: professionals advise to resurface the discs irrespective of the reading. It is important that the disc is not machined down to a thickness smaller that the minimum thickness as which is often marked on the disc and can be measured with the micrometer. To lift the disc, you have to unbolt the caliper mounting bracket-to-Steering knuckle bolts or the bracket-to-trailing arm bolts for the rear caliper before pulling off the mounting bracket. Subsequently, the two lug nuts or the disc retaining screws are to be removed and the disc is supposed to be pulled off the hub. This is usually accompanied with a disc stuck; three holes are given out with two bolts inserted and successively screwed till the disc is loose without damaging the thread on the studs. To install place the disc on the threaded studs, the disc retaining screws and the caliper mounting bracket, the brake pads and the caliper over the disc and tighten the bolts to the recommended torque. Lastly align the wheel, lower the vehicle and applying the brakes a few times to ensure that the brake pads make contact with the disc while also checking the working of the brakes before putting the car back for normal use on the road.


