×
- Hello
- Login or Register
- Quick Links
- Live Chat
- Track Order
- Parts Availability
- RMA
- Help Center
- Contact Us
- Shop for
- Honda Parts
- Honda Accessories

My Garage
My Account
Cart
Genuine Honda CRX Radius Arm
Front Suspension Radius Arm- Select Vehicle by Model
- Select Vehicle by VIN
Select Vehicle by Model
orMake
Model
Year
Select Vehicle by VIN
For the most accurate results, select vehicle by your VIN (Vehicle Identification Number).
4 Radius Arms found
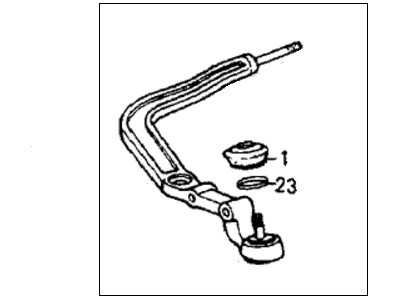
Honda CRX Arm, Right Front Radius
Part Number: 51351-SB2-672$180.27 MSRP: $256.80You Save: $76.53 (30%)Honda CRX Arm, Left Front Radius
Part Number: 51361-SB2-672$180.27 MSRP: $256.80You Save: $76.53 (30%)
Honda CRX Radius Arm
In search of affordable OEM Honda CRX Radius Arm? Consider browsing through our extensive inventory of genuine Honda CRX Radius Arm. Not only do we provide market-leading prices and a manufacturer's warranty, but we also pride ourselves on exceptional customer service and swift delivery.
Honda CRX Radius Arm Parts Questions & Experts Answers
- Q: How do you remove and install a Radius Arm on Honda CRX?A:Raise and support the front of the vehicle on jackstands and remove the front wheels. Disconnect the radius arm Ball Joint, taking care not to damage the seal, then remove the radius arm self-locking nuts. Next, remove the stabilizer bar locking nut and separate the radius arm from the stabilizer bar. Remove the lower Control Arm bolts from the radius arm and take out the radius arm. For installation, replace all locking nuts, position the radius arm, and install the lower control arm bolts, tightening them to 28 Ft. lbs. (38 Nm). Connect the stabilizer to the radius arm and torque the bolt to 16 ft. lbs. (22 Nm). Install the radius arm bolts and self-locking nuts, tightening the self-locking pivot nut to 60 ft. lbs. (83 Nm) and the ball joint nut to 32 ft. lbs. (44 Nm). Finally, install the tire and wheel assembly and lower the vehicle.


