×
- Live Chat
- 1-888-984-2011

My Garage
My Account
Cart
Genuine Honda CRX Bumper
Bumper Fascia- Select Vehicle by Model
- Select Vehicle by VIN
Select Vehicle by Model
orMake
Model
Year
Select Vehicle by VIN
For the most accurate results, select vehicle by your VIN (Vehicle Identification Number).
10 Bumpers found
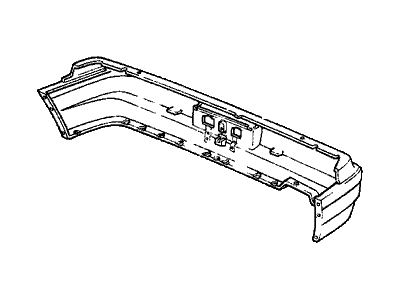
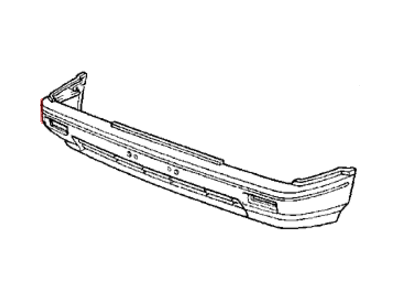
Honda CRX Bumper
In search of affordable OEM Honda CRX Bumper? Consider browsing through our extensive inventory of genuine Honda CRX Bumper. Not only do we provide market-leading prices and a manufacturer's warranty, but we also pride ourselves on exceptional customer service and swift delivery.
Honda CRX Bumper Parts Questions & Experts Answers
- Q: How do you remove and reinstall the front and rear bumpers on Honda CRX?A: To remove the front bumper, start by taking out the lower mount bolts and the bumper mount bolts, then disconnect the electrical leads from the lights. Slide the bumper assembly forward off the front of the car, ensuring to slide it off the locating pins on each side of the front Fender. For installation, slide the bumper back onto the car, making sure the inner part catches the locating pins, then install and tighten the mounting bolts to 16 ft. lbs. (22 Nm), ensuring all bolts are secure. For 1988-91 models, remove the right and left turn signal assemblies, the mounting screws holding the bumper to the inner fender well, and the lower and upper mounting bolts. Lift the bumper assembly slightly and slide it forward off the vehicle, ensuring to slide it off the locating slide assembly. Reinstall the bumper by sliding it back into position, ensuring the slide clips catch, and tighten the mounting bolts to 16 ft. lbs. (22 Nm) before reinstalling the turn signal assemblies. For the rear bumper on 1984-87 models, remove the lower mount bolts and bumper mount bolts, disconnect the electrical leads from the license plate light, and slide the bumper assembly forward off the car, ensuring to slide it off the locating pin on each side of the rear fender. Reinstall by sliding it back onto the car, ensuring the inner part catches the locating pins, then tighten the mounting bolts to 16 ft. lbs. (22 Nm) and check that all bolts are secure. For 1988-91 models, remove the rear trunk/hatch cover panels and disconnect the license plate light connector, then take out the bumper retaining bolts from the fender well area, the screws from the under protector, and the lower and upper mounting bolts from the trunk/hatch area. Slide the bumper to the rear, ensuring it comes off the bumper slide clips, then reinstall it into position, tighten the retaining bolts to 16 ft. lbs. (22 Nm), and reconnect the license plate light assembly.


