×
- Hello
- Login or Register
- Quick Links
- Live Chat
- Track Order
- Parts Availability
- RMA
- Help Center
- Contact Us
- Shop for
- Honda Parts
- Honda Accessories

My Garage
My Account
Cart
Genuine Honda CR-V Vapor Canister
Fuel Vapor Canister- Select Vehicle by Model
- Select Vehicle by VIN
Select Vehicle by Model
orMake
Model
Year
Select Vehicle by VIN
For the most accurate results, select vehicle by your VIN (Vehicle Identification Number).
10 Vapor Canisters found


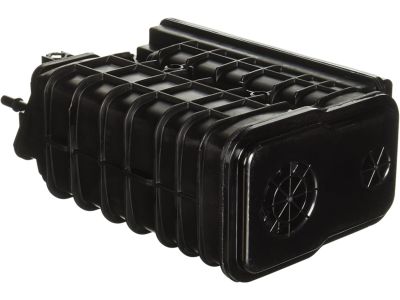
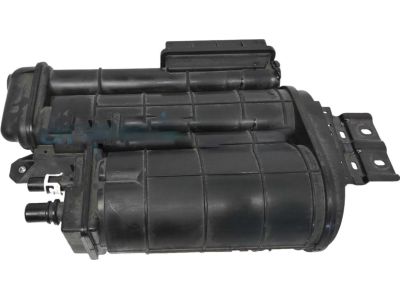
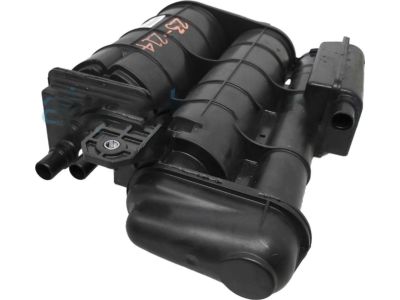
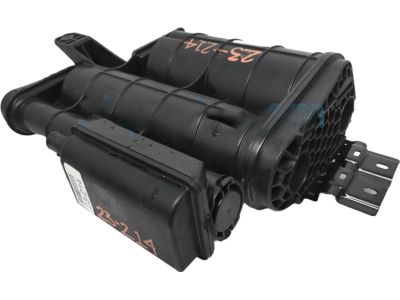
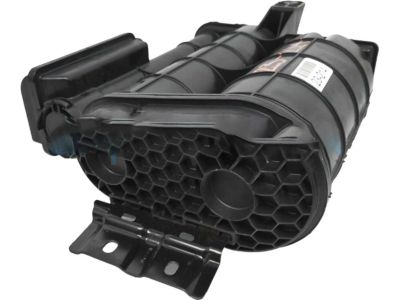
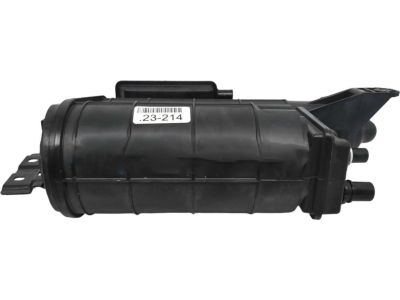
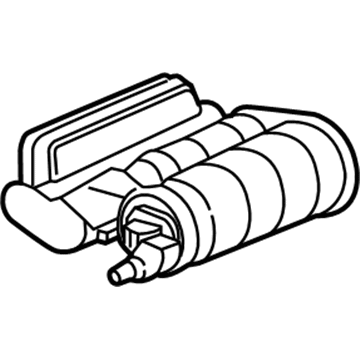
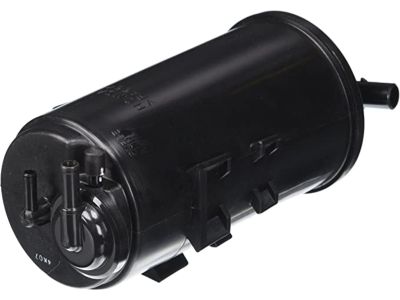
Honda CR-V Set, Canister Assembly
Part Number: 17011-T0A-A01$259.33 MSRP: $369.42You Save: $110.09 (30%)
Honda CR-V Vapor Canister
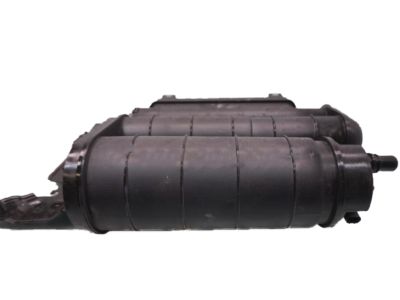
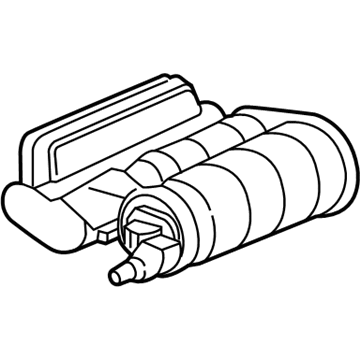
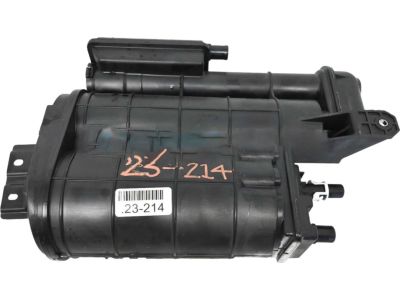
The Vapor Canister in Honda CR-V cars is part and parcel of the evaporative emission control (EVAP) system which is meant to minimize emissions from fuel evaporation. It holds gasoline vapors for a while due to a system that captures the fumes that then condense on the activated charcoal contained in canister. It attaches to the intake manifold using a canister vent control valve, often a solenoid that controls the emissions of the fuel vapor during running of the engine. This mechanism makes it possible to use vapours in the combustion process when necessary. There could be differences in the Vapor Canister of different CR-V models although the differences my not be very much distinct mainly due to the different placement of the purge valve that could cause problem such as vacuum leak or fuel odor if problematic. In conclusion, the use of the Vapor Canister is very critical to supporting the vehicle performance as well as fuel economy with less emission levels.
In search of affordable OEM Honda CR-V Vapor Canister? Consider browsing through our extensive inventory of genuine Honda CR-V Vapor Canister. Not only do we provide market-leading prices and a manufacturer's warranty, but we also pride ourselves on exceptional customer service and swift delivery.
Honda CR-V Vapor Canister Parts Questions & Experts Answers
- Q: How to remove and install the EVAP canister purge valve and Vapor Canister for the Honda CR-V?A:The EVAP canister purge valve is located on the intake manifold or cylinder head. To remove, disconnect the electrical connector and vacuum hoses, then remove mounting screws. For 2015 and later CR-V models, remove the high-pressure fuel pump cover. For 2014 and earlier models, remove the engine cover and air filter housing. To install, reverse the removal process. Access the EVAP canister by removing under covers. Disconnect the electrical connector from the valve and rotate the vent shut valve clockwise to remove. Replace the O-ring on the valve and sensor, but avoid oiling. To remove the canister, disconnect the vapor hose and electrical connector, then remove the mounting bolts. If replacing, transfer the vent shut valve and other components to the new canister.
Related Honda CR-V Parts
Browse by Year
2024 Vapor Canister 2023 Vapor Canister 2022 Vapor Canister 2021 Vapor Canister 2020 Vapor Canister 2019 Vapor Canister 2018 Vapor Canister 2017 Vapor Canister 2016 Vapor Canister 2015 Vapor Canister 2014 Vapor Canister 2013 Vapor Canister 2012 Vapor Canister 2011 Vapor Canister 2010 Vapor Canister 2009 Vapor Canister 2008 Vapor Canister 2007 Vapor Canister 2006 Vapor Canister 2005 Vapor Canister 2004 Vapor Canister 2003 Vapor Canister 2002 Vapor Canister 2001 Vapor Canister 2000 Vapor Canister 1999 Vapor Canister 1998 Vapor Canister 1997 Vapor Canister
