×
- Live Chat
- 1-888-984-2011

My Garage
My Account
Cart
Genuine Honda CR-V Steering Knuckle
Front Steering Knuckle- Select Vehicle by Model
- Select Vehicle by VIN
Select Vehicle by Model
orMake
Model
Year
Select Vehicle by VIN
For the most accurate results, select vehicle by your VIN (Vehicle Identification Number).
64 Steering Knuckles found
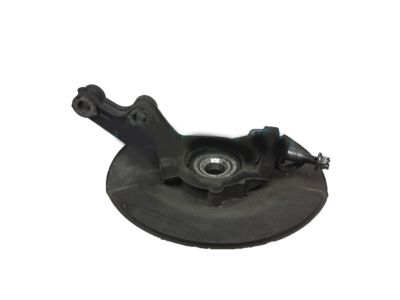
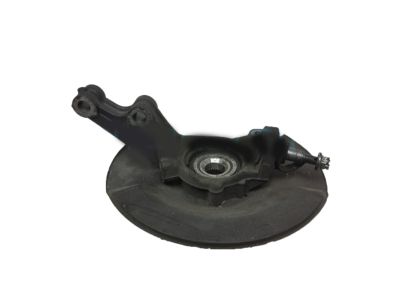
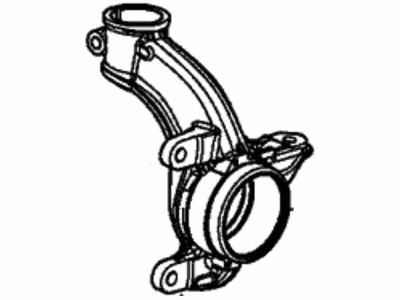
Honda CR-V Knuckle, Right Front (Abs)
Part Number: 51210-S9A-982$327.86 MSRP: $467.03You Save: $139.17 (30%)Honda CR-V Knuckle, Right Front
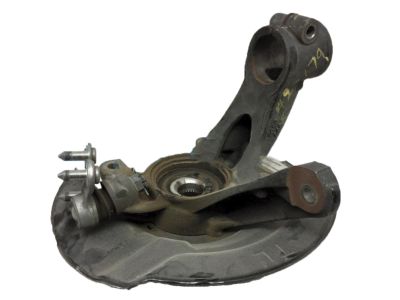
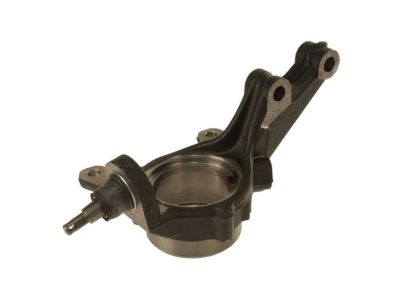
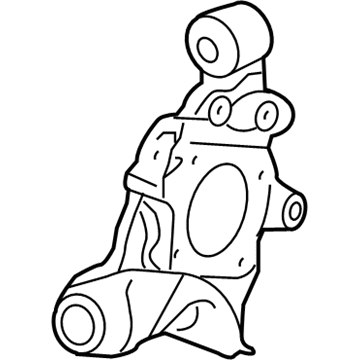
Part Number: 51211-TLA-A52$197.46 MSRP: $281.28You Save: $83.82 (30%)Honda CR-V Knuckle, Left Rear (Abs)
Part Number: 52215-S9A-800$388.08 MSRP: $560.00You Save: $171.92 (31%)Honda CR-V Knuckle, Left Front (Abs)
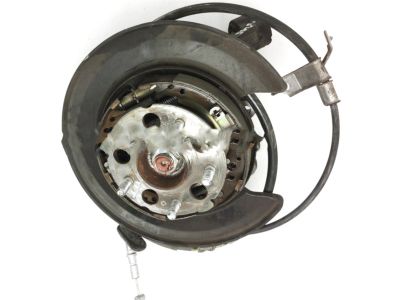
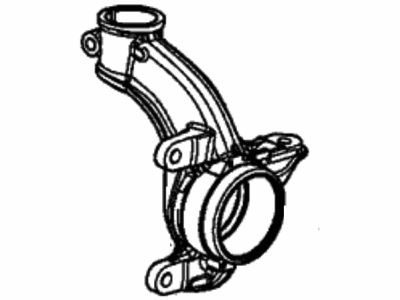
Part Number: 51215-S9A-982$327.86 MSRP: $467.03You Save: $139.17 (30%)Honda CR-V Knuckle Complete, Right Rear
Part Number: 52210-T0A-A00$191.44 MSRP: $272.70You Save: $81.26 (30%)Honda CR-V Knuckle, Right Rear
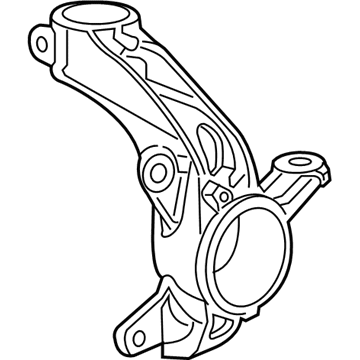
Part Number: 52210-SWA-A00$384.78 MSRP: $555.23You Save: $170.45 (31%)Honda CR-V Knuckle, Right Rear (Abs)
Part Number: 52210-S9A-800$388.08 MSRP: $560.00You Save: $171.92 (31%)Honda CR-V Knuckle, Right Front
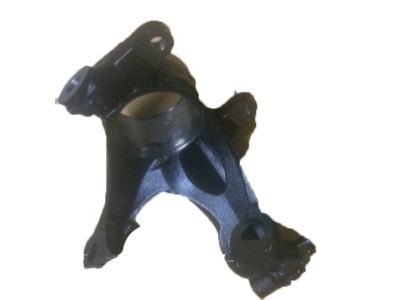
Part Number: 51210-S9A-020$327.86 MSRP: $467.03You Save: $139.17 (30%)Honda CR-V Knuckle, Left Front (Abs)
Part Number: 51216-SWA-A10$371.62 MSRP: $529.37You Save: $157.75 (30%)Honda CR-V Knuckle, Left Front
Part Number: 51216-T0A-A20$487.17 MSRP: $702.98You Save: $215.81 (31%)Honda CR-V Knuckle, Left Front
Part Number: 51215-S9A-020$327.86 MSRP: $467.03You Save: $139.17 (30%)Honda CR-V Knuckle Complete, Left Rear
Part Number: 52215-T0A-A00$191.44 MSRP: $272.70You Save: $81.26 (30%)Honda CR-V Knuckle, Left Front (17
Part Number: 51216-T1W-A10$521.88 MSRP: $753.07You Save: $231.19 (31%)Honda CR-V Knuckle, Right Front
Part Number: 51211-TNY-A00$197.46 MSRP: $281.28You Save: $83.82 (30%)Honda CR-V Knuckle Complete, Left Rear
Part Number: 52215-T1W-A00$199.30 MSRP: $283.90You Save: $84.60 (30%)
| Page 1 of 4 |Next >
1-20 of 64 Results
Honda CR-V Steering Knuckle
Steering Steering Knuckle in Honda CR-V cars is responsible for transmitting the movement of the suspension and the steering systems as well as for allowing the vertical and horizontal motion of wheels. It offers points to which control arms, the tie rods and the wheel hub can be firmly fixed in order to afford stable rotation of the tire and wheel assembly. There are different designs of steering knuckles depending on the arrangement of the driven wheels: front-wheel/all-wheel/four-wheel drive and rear-wheel drive. While in the front-drive arrangements, the knuckle unit includes a hub that would join the drive axle, the rear-drive types may be equipped with an integral spindle. A history of its development has shown the use of kingpin of the steering knuckle to the sophisticated ball joint systems of today. This area requires periodic inspection as the failure of the knuckle may originate from the failure of the associated components that were recently replaced.
In search of affordable OEM Honda CR-V Steering Knuckle? Consider browsing through our extensive inventory of genuine Honda CR-V Steering Knuckle. Not only do we provide market-leading prices and a manufacturer's warranty, but we also pride ourselves on exceptional customer service and swift delivery.
Honda CR-V Steering Knuckle Parts Questions & Experts Answers
- Q: How to remove and install a Steering Knuckle on Honda CR-V?A: Loosen the wheel lug nuts, raise the vehicle and support it securely on jackstands. Remove the wheel. Remove the driveaxle/hub nut. Remove the brake caliper and support it with a piece of wire. Remove the caliper mounting bracket, then remove the brake disc from the hub. Remove the stabilizer end link nut. Mark the strut to the steering knuckle then remove the strut-to-steering knuckle nuts, but do not remove the bolts. Detach the ABS wheel speed sensor from the steering knuckle. Separate the Control Arm from the balljoint. Detach the tie-rod end from the steering knuckle. Push the driveaxle from the hub. Support the end of the driveaxle with a piece of wire. Remove the bolts and separate the steering knuckle from the strut. Installation is the reverse of removal. Guide the knuckle and hub assembly into position, inserting the driveaxle into the hub. Push the knuckle into the strut flange and install the bolts and nuts, but don't tighten them yet. Connect the balljoint to the control arm and tighten the fasteners. Tighten the strut bolt nuts and the tie-rod end nut. Place the brake disc on the hub and install the caliper mounting bracket and caliper. Install the driveaxle/hub nut and tighten it. Install the wheel and lug nuts. Lower the vehicle and tighten the lug nuts. Have the front wheel alignment checked and, if necessary, adjusted.
- Q: How Do You remove a rear Trailing Arm and Steering Knuckle on Honda CR-V?A: Loosen the rear wheel lug nuts, raise the rear of the vehicle, support it on jackstands, and block the front wheels. Remove the wheel. If working on a CR-V, detach the ABS wheel speed sensor harness bracket from the upper arm. Support the trailing arm with a floor jack. Remove the upper arm-to-knuckle bolt and the inner end bolt(s) of the arm. For installation, reverse the removal process, ensuring the trailing arm is raised with the floor jack to simulate normal ride height before fully tightening the fasteners. Tighten all fasteners and the wheel lug nuts. Support the trailing arm again and unbolt the brake hose and ABS sensor mounting brackets. Remove the rear undercarriage splash shield if applicable. Mark the relationship of the toe adjusting cam on the trailing arm-to-knuckle bolt. Remove the lower shock absorber bolt and the trailing arm-to-knuckle bolts. Suspend the knuckle with a cord or wire. Disconnect the stabilizer bar link from the trailing arm. If working on a Civic, remove the shock absorber lower mounting bolt, trailing arm-to-chassis front mounting bolts, and slowly lower the jack to remove the coil spring. Remove the trailing arm-to-chassis pivot bolt and the trailing arm. Installation involves aligning marks on the adjuster cam and the trailing arm, raising the trailing arm to simulate ride height, and tightening fasteners to the right torque specifications. Check and adjust the rear wheel alignment if necessary. If working on an AWD CR-V, remove the drive axle/hub nut. Remove the brake drum or brake caliper and disc. Remove parking brake shoes, wheel speed sensor, and parking brake cable. Disconnect the trailing arm from the knuckle after supporting the trailing arm and remove the rear wheel bearing hub assembly. On drum brake models, remove the brake backing plate with brake shoes attached. Remove the fasteners connecting the knuckle to the upper arm and trailing arm, marking the cam bolt position. Installation involves raising the trailing arm to simulate ride height, aligning matchmarks on the toe adjusting cam, tightening all fasteners to the proper specifications, and ensuring the caliper mounting bolts are tightened correctly. It's not necessary to bleed the brakes unless a hydraulic fitting was loosened. Check and adjust rear wheel alignment if required.
Related Honda CR-V Parts
Browse by Year
2024 Steering Knuckle 2023 Steering Knuckle 2022 Steering Knuckle 2021 Steering Knuckle 2020 Steering Knuckle 2019 Steering Knuckle 2018 Steering Knuckle 2017 Steering Knuckle 2016 Steering Knuckle 2015 Steering Knuckle 2014 Steering Knuckle 2013 Steering Knuckle 2012 Steering Knuckle 2011 Steering Knuckle 2010 Steering Knuckle 2009 Steering Knuckle 2008 Steering Knuckle 2007 Steering Knuckle 2006 Steering Knuckle 2005 Steering Knuckle 2004 Steering Knuckle 2003 Steering Knuckle 2002 Steering Knuckle 2001 Steering Knuckle 2000 Steering Knuckle 1999 Steering Knuckle 1998 Steering Knuckle 1997 Steering Knuckle
