×
- Live Chat
- 1-888-984-2011

My Garage
My Account
Cart
Genuine Honda CR-V Hood Cable
Hood Release Cable- Select Vehicle by Model
- Select Vehicle by VIN
Select Vehicle by Model
orMake
Model
Year
Select Vehicle by VIN
For the most accurate results, select vehicle by your VIN (Vehicle Identification Number).
13 Hood Cables found
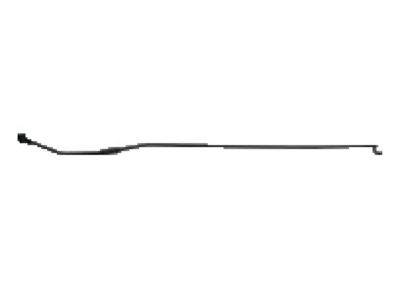
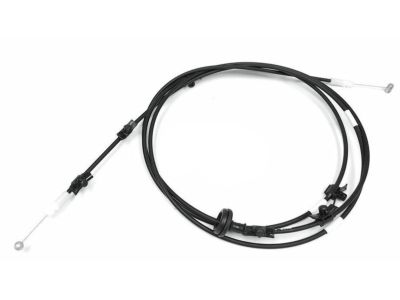
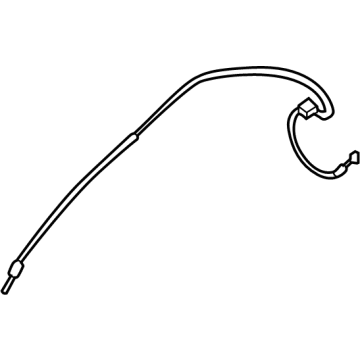
Honda CR-V Wire Assembly, Front Hood
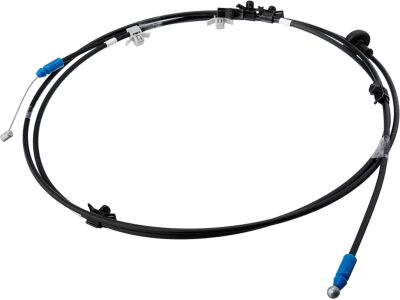
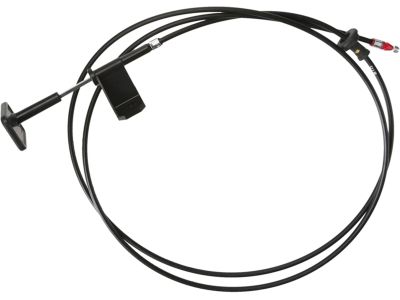
Part Number: 74131-TLA-A01$23.71 MSRP: $40.43You Save: $16.72 (42%)Honda CR-V Wire Assembly, Hood (Graphite Black)
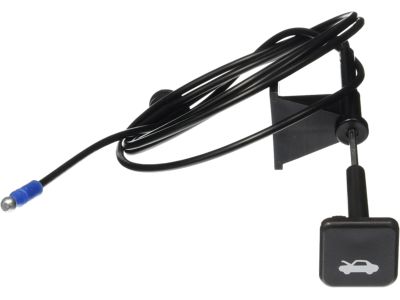
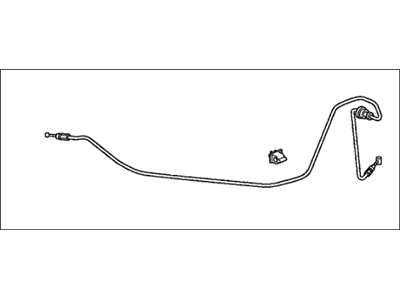
Part Number: 74130-S9A-A01ZA$65.34 MSRP: $92.28You Save: $26.94 (30%)Honda CR-V Wire Assembly, Rear Hood
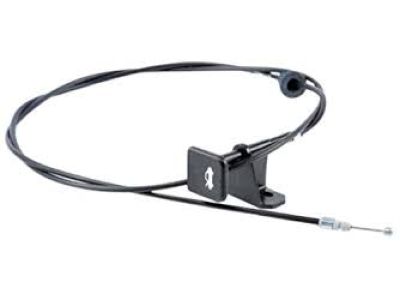
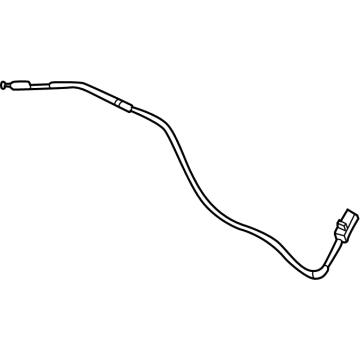
Part Number: 74132-TLA-A01$15.75 MSRP: $22.25You Save: $6.50 (30%)Honda CR-V Wire Assembly, Hood (Classy Gray)
Part Number: 74130-S10-A11ZB$46.02 MSRP: $65.00You Save: $18.98 (30%)Honda CR-V Wire Assembly, Hood (Ivory)
Part Number: 74130-S9A-A01ZD$49.08 MSRP: $69.32You Save: $20.24 (30%)
Honda CR-V Hood Cable
In search of affordable OEM Honda CR-V Hood Cable? Consider browsing through our extensive inventory of genuine Honda CR-V Hood Cable. Not only do we provide market-leading prices and a manufacturer's warranty, but we also pride ourselves on exceptional customer service and swift delivery.
Honda CR-V Hood Cable Parts Questions & Experts Answers
- Q: How do you replace the latch and hood release cable on Honda CR-V?A: To perform a replacement of the latch one has to remove the radiator grelle opening cover if it is fitted and put a mark on the latch to help in aligning it during fitting. Take out the latch by removing the latch retaining bolts located in the radiator support. Subsequently, the hood release cable should be disconnected from the latch assembly of the car's engine compartment. For installation reverse the process used for removal tightening the latch so that the hood is engaged tightly when closed and the hood bumpers should be ever slightly compressed. As a beginning, to remove it to install a new cable, it is necessary to unclip the cable from the latch assembly and remove it from any clips at the radiator support. Take another wire or string and fix it on the latch end of the cable. In the passenger compartment, the kick panel on the driver's side should be taken out; then the bolts which secure the position of the release lever should be removed and the hood release lever should be unclipped. Take the left side inner fender splash shield off and the cable from to the seat via the hook. Slide the grommet through the body and pass the cable into the passenger compartment where there should be a new grommet fitted on the new cable. This is done by pulling out the old cable through the wire or string and replace it with the new cable, and the guide the wire or string with the new cable back to the firewall and the latch following the same path as before. Pull the retaining clips on the inside of the fender and finish the process by fitting the fender liner and the hood latch to the new cable, while reversing the process of the removal.
Related Honda CR-V Parts
Browse by Year
2024 Hood Cable 2023 Hood Cable 2022 Hood Cable 2021 Hood Cable 2020 Hood Cable 2019 Hood Cable 2018 Hood Cable 2017 Hood Cable 2016 Hood Cable 2015 Hood Cable 2014 Hood Cable 2013 Hood Cable 2012 Hood Cable 2011 Hood Cable 2010 Hood Cable 2009 Hood Cable 2008 Hood Cable 2007 Hood Cable 2006 Hood Cable 2005 Hood Cable 2004 Hood Cable 2003 Hood Cable 2002 Hood Cable 2001 Hood Cable 2000 Hood Cable 1999 Hood Cable 1998 Hood Cable 1997 Hood Cable
