×
- Live Chat
- 1-888-984-2011

My Garage
My Account
Cart
Genuine Honda CR-V Hood
Engine Hood- Select Vehicle by Model
- Select Vehicle by VIN
Select Vehicle by Model
orMake
Model
Year
Select Vehicle by VIN
For the most accurate results, select vehicle by your VIN (Vehicle Identification Number).
11 Hoods found
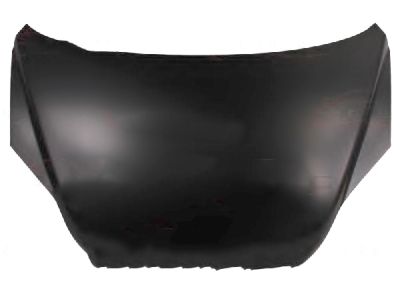
Honda CR-V Hood Complete (Dot)
Part Number: 60100-T0J-A91ZZ$645.73 MSRP: $931.78You Save: $286.05 (31%)Honda CR-V Hood, Engine (DOT)
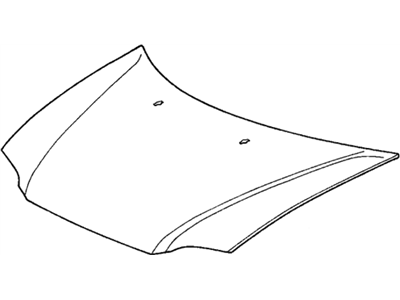
Part Number: 60100-SWA-A91ZZ$575.10 MSRP: $829.87You Save: $254.77 (31%)Honda CR-V Hood, Engine (DOT)
Part Number: 60100-SWA-A90ZZ$685.22 MSRP: $988.77You Save: $303.55 (31%)Honda CR-V Hood Complete (Dot)
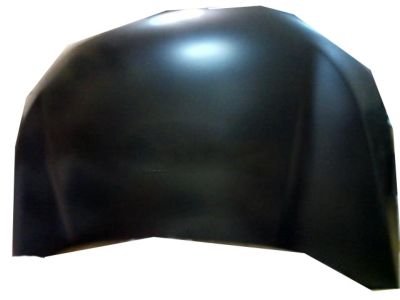
Part Number: 60100-T0A-A90ZZ$645.73 MSRP: $931.78You Save: $286.05 (31%)Honda CR-V Hood, Engine (DOT)
Part Number: 60100-S10-A92ZZ$352.88 MSRP: $583.12You Save: $230.24 (40%)Honda CR-V Hood, Engine (DOT)
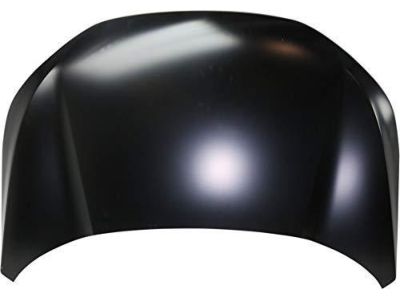
Part Number: 60100-T0J-A90ZZ$645.73 MSRP: $931.78You Save: $286.05 (31%)
Honda CR-V Hood
In search of affordable OEM Honda CR-V Hood? Consider browsing through our extensive inventory of genuine Honda CR-V Hood. Not only do we provide market-leading prices and a manufacturer's warranty, but we also pride ourselves on exceptional customer service and swift delivery.
Honda CR-V Hood Parts Questions & Experts Answers
- Q: What are the steps involved in the removal and installation of a hood on Honda CR-V?A: The hood is quite heavy and bulky thus removal and installation or replacement needs at least two people. Firstly, it is necessary to stow Fenders and cowl areas with blankets or pads to prevent the body and paint during the work. Print or scratch, the reference lines around the heads of the bolt so that there is an easy way of aligning them when tightening. Remove any cables or wire harnesses that are in the way of this removal. Where an assistant is available, take turns with the bolts securing the hinge-to-hood and lifting off the hood. During installation the hood should be placed in such a way that the hinges are placed on the set scribe lines in order to achieve proper alignment. If you are putting a new hood or if the hinge locations were not noted, adjust the hood properly. Tighten or loosen the fore-and-aft and right-and-left positions of the auxiliary hood via the elongated holes within the hinge, so as to draw a line from the body of the hood to the hinge plate in order to sense the movements. Only turn them enough so as to enable it to move around freely, shut the hood to ensure it is straight and you may even have to remove the Hood Latch so that it does not hinder it. Tighten the hood and adjust the bolts, wiggling until the thickness of the seam is the same on both sides-do this until the bolts are tightened properly. The operating hood should be in a position that, when closed, it touches the stops but do not put a lot of strain on thestops. If required, align the whole of the hood latch assembly up-and-down and from side to side on the upper radiator support so that the hood shuts squarely and is parallel to the fenders, the latter as marked with a scribe line. Last, the height of the vertical front edge of the hood needs to be trimmed and this is done by rotating the edge cushions to but with the fenders. It is recommended to lubricate the hood latch assembly and hinges once in a while using white lithium-base grease so as to avoid getting stuck or to wear out.


