×
- Live Chat
- 1-888-984-2011

My Garage
My Account
Cart
Genuine Honda CR-V Engine Mount
Engine Motor Mount- Select Vehicle by Model
- Select Vehicle by VIN
Select Vehicle by Model
orMake
Model
Year
Select Vehicle by VIN
For the most accurate results, select vehicle by your VIN (Vehicle Identification Number).
40 Engine Mounts found
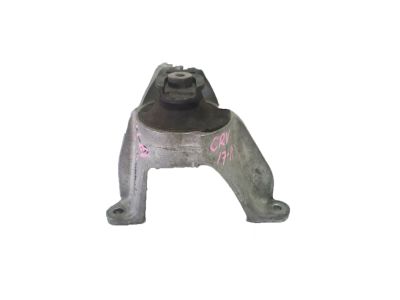
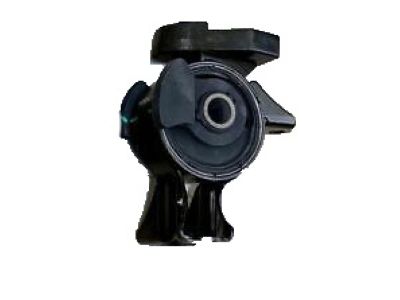
Honda CR-V Mounting, Engine Side (1.5L)
Part Number: 50820-TLA-A01$204.63 MSRP: $299.17You Save: $94.54 (32%)Honda CR-V Rubber Assy., RR. Engine Mounting
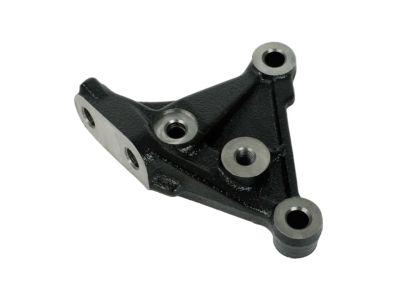
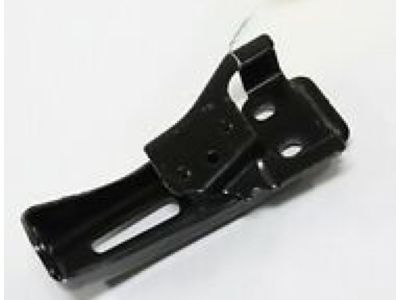
Part Number: 50810-S7D-003$141.16 MSRP: $201.08You Save: $59.92 (30%)Honda CR-V Bracket, Engine Side Mounting
Part Number: 11910-PPA-000$60.01 MSRP: $84.77You Save: $24.76 (30%)Honda CR-V Rubber Assy., Engine Side Mounting
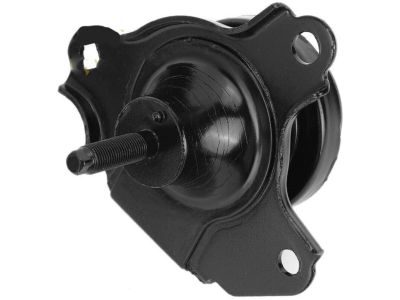
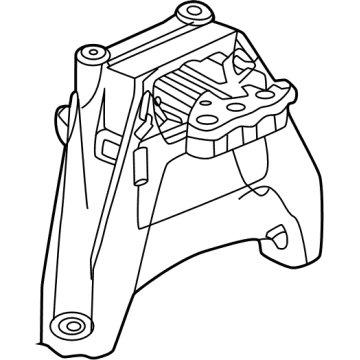
Part Number: 50820-SXS-A01$394.05 MSRP: $568.62You Save: $174.57 (31%)Honda CR-V Rubber, Engine Side Mounting
Part Number: 50821-S9A-023$240.88 MSRP: $343.13You Save: $102.25 (30%)Honda CR-V Mounting, Engine Side
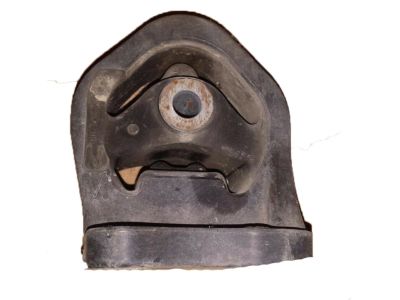
Part Number: 50820-T0T-H01$258.94 MSRP: $368.87You Save: $109.93 (30%)Honda CR-V Rubber Assy., RR. Engine Mounting
Part Number: 50810-S9A-013$153.38 MSRP: $218.48You Save: $65.10 (30%)Honda CR-V Mounting, FR. Engine
Part Number: 50830-T0T-H81$110.45 MSRP: $156.00You Save: $45.55 (30%)Honda CR-V Mounting, Engine Side (2.4L)
Part Number: 50820-TLC-A01$158.35 MSRP: $225.57You Save: $67.22 (30%)Honda CR-V Insulator, RR. Engine Mountingrubber (MT)
Part Number: 50810-ST7-000$200.95 MSRP: $286.25You Save: $85.30 (30%)Honda CR-V Rubber, Engine Side Mounting
Part Number: 50828-S10-004$296.37 MSRP: $422.18You Save: $125.81 (30%)Honda CR-V Bracket, Engine Side Mounting
Part Number: 11910-RZA-000$122.70 MSRP: $174.78You Save: $52.08 (30%)Honda CR-V Insulator, RR. Engine Mountingrubber (AT)
Part Number: 50810-ST0-980$201.39 MSRP: $286.88You Save: $85.49 (30%)Honda CR-V Stay, Side Engine Mounting
Part Number: 50625-STK-A00$22.47 MSRP: $31.73You Save: $9.26 (30%)Honda CR-V Stay, Side Engine Mounting
Part Number: 50625-TLA-A12$28.53 MSRP: $40.30You Save: $11.77 (30%)
| Page 1 of 2 |Next >
1-20 of 40 Results
Honda CR-V Engine Mount
In search of affordable OEM Honda CR-V Engine Mount? Consider browsing through our extensive inventory of genuine Honda CR-V Engine Mount. Not only do we provide market-leading prices and a manufacturer's warranty, but we also pride ourselves on exceptional customer service and swift delivery.
Honda CR-V Engine Mount Parts Questions & Experts Answers
- Q: Should engine mounts be replaced immediately if they are broken or deteriorated on Honda CR-V?A: Engine mounteds do not demand service often, although broken or worn mounts must be replaced as soon as possible as additional stress is placed on the others parts of the drive line which will cause further damage or wear. During the check the engine has to be lifted to take the weight off the mounts and subsequently the transmission. Lift the car and securely support it on jack stands, then place the jack under the engine oil pan, and put a large piece of wood between the jack head and the oil pan and get the engine just off the mounts. Check for cracks, hardening or separation between mount insulators and metal in the center of the mount. To check relative movement between the mount plates and the engine or frame is noticeable, use a large screwdriver or pry bar; if so, lower the engine to remove any relative movement and then tighten the mount fasteners. Remove the cable in a way that you unplug it from the negative terminal of the battery. Whenever replacing the lower torque rod the vehicle must be lifted on jackstands with the body weight supported on jackstands and engine should also be supported in addition to the above requirements. The fasteners must be unscrewed next; then lift the engine using the jack; take the mount off the frame bracket and the engine. Place the new mount in its bracket and then put the fasteners and tighten then firmly . Disconnect the air filter housing and the PCM, then, disconnect the PCM as well as the air filter housing bracket mounting screws to release the bracket. Place the transaxle on the jack, undo the Transaxle mount bolts and pull out the mount. Installation is the process of doing the opposite of removal, where mount fasteners have to be tightened to the required torque.
Related Honda CR-V Parts
Browse by Year
2024 Engine Mount 2023 Engine Mount 2022 Engine Mount 2021 Engine Mount 2020 Engine Mount 2019 Engine Mount 2018 Engine Mount 2017 Engine Mount 2016 Engine Mount 2015 Engine Mount 2014 Engine Mount 2013 Engine Mount 2012 Engine Mount 2011 Engine Mount 2010 Engine Mount 2009 Engine Mount 2008 Engine Mount 2007 Engine Mount 2006 Engine Mount 2005 Engine Mount 2004 Engine Mount 2003 Engine Mount 2002 Engine Mount 2001 Engine Mount 2000 Engine Mount 1999 Engine Mount 1998 Engine Mount 1997 Engine Mount
