×
- Live Chat
- 1-888-984-2011

My Garage
My Account
Cart
Genuine Honda Civic Rack And Pinion
Steering Rack And Pinion- Select Vehicle by Model
- Select Vehicle by VIN
Select Vehicle by Model
orMake
Model
Year
Select Vehicle by VIN
For the most accurate results, select vehicle by your VIN (Vehicle Identification Number).
155 Rack And Pinions found
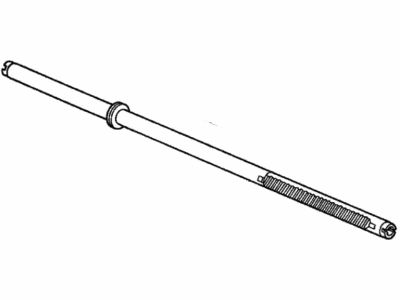
Honda Civic Rack, Power Steering
Part Number: 53601-SNA-A02$825.86 MSRP: $1191.72You Save: $365.86 (31%)Honda Civic Rack, Power Steering
Part Number: 53601-SNA-A52$1219.80 MSRP: $1760.17You Save: $540.37 (31%)Honda Civic Set, G/Box Complete
Part Number: 53601-TS8-A04$1288.66 MSRP: $1859.53You Save: $570.87 (31%)Honda Civic Box, Power Steering Gear
Part Number: 53601-TR6-A91$1288.66 MSRP: $1859.53You Save: $570.87 (31%)Honda Civic Rack, Power Steering (Driver Side)
Part Number: 53601-SR3-A52$956.26 MSRP: $1379.89You Save: $423.63 (31%)Honda Civic Gear Box Assembly, Eps
Part Number: 53650-TBA-A12$1861.18 MSRP: $2685.68You Save: $824.50 (31%)Honda Civic G/Box Assembly, Eps
Part Number: 53650-TBC-A60$2002.79 MSRP: $2890.04You Save: $887.25 (31%)Honda Civic Rack Assembly, Power Steering (Eps) (Service)
Part Number: 53650-TBC-A90$1970.20 MSRP: $2843.00You Save: $872.80 (31%)Honda Civic RACK, POWER STEERING
Part Number: 53620-T23-A87$1784.11 MSRP: $2574.47You Save: $790.36 (31%)Honda Civic Gear Box Assembly, Eps
Part Number: 53620-TBF-A01$1997.47 MSRP: $2882.35You Save: $884.88 (31%)Honda Civic Rack Assembly, Power Steering (Eps) (Service)
Part Number: 53620-TGG-A62$1590.35 MSRP: $2294.88You Save: $704.53 (31%)Honda Civic RACK, POWER STEERING
Part Number: 53620-T47-A62$1498.54 MSRP: $2162.40You Save: $663.86 (31%)Honda Civic Gear Box Assembly, Eps
Part Number: 53620-TGG-A74$1595.17 MSRP: $2301.83You Save: $706.66 (31%)Honda Civic RACK, POWER STEERING
Part Number: 53620-T22-A17$1576.84 MSRP: $2275.38You Save: $698.54 (31%)Honda Civic Gear Box Assembly, Eps
Part Number: 53650-TBH-A03$1949.87 MSRP: $2813.67You Save: $863.80 (31%)Honda Civic Gear Box Assembly, Eps
Part Number: 53620-TBJ-A01$1997.47 MSRP: $2882.35You Save: $884.88 (31%)Honda Civic Rack, Power Steer
Part Number: 53601-SNR-A09$1122.04 MSRP: $1619.10You Save: $497.06 (31%)
| Page 1 of 8 |Next >
1-20 of 155 Results
Honda Civic Rack And Pinion
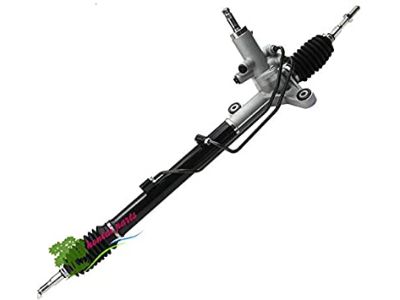
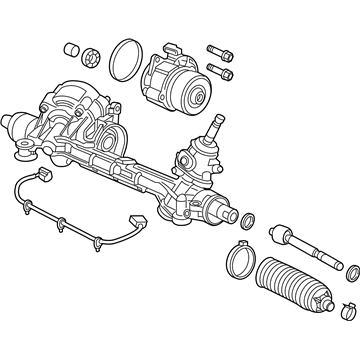
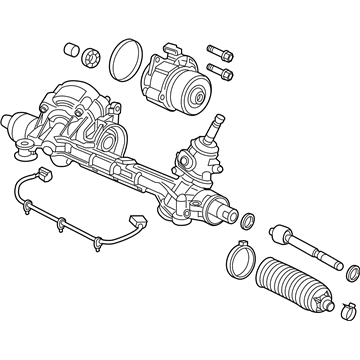
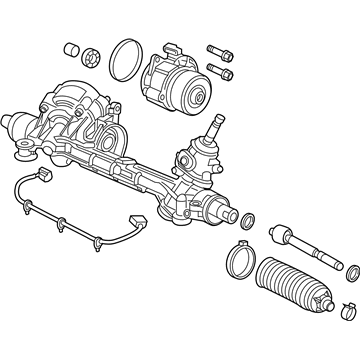
The Rack And Pinion in Honda Civic vehicles is one of the vital pieces in the steering system's mechanism to allow the rotation of the steering wheel translate into the lateral movement of the front wheels. This is often referred to as rack and pinion and it comprises of a pinion that is mounted on the steering column and a rack that is located in a metal sleeve which is connected to the tie-rods or the steering knuckles. Until the present times, the steering system of Honda Civics for the most part employed manual rack and pinion mechanisms; however, contemporary models come with power-assisted systems that are, as a rule, hydraulic. In these systems, high pressure fluid from an engine driven pump makes the steering easier thus improving on ease of maneuverability. Differences in the configurations of the racks and pinions, for instance, straight rather than helical gears affect the performance and the straight gears are known to run cooler and more efficiently. In general, Rack And Pinion ensures an accurate steering experience for the Honda Civic cars.
In search of affordable OEM Honda Civic Rack And Pinion? Consider browsing through our extensive inventory of genuine Honda Civic Rack And Pinion. Not only do we provide market-leading prices and a manufacturer's warranty, but we also pride ourselves on exceptional customer service and swift delivery.
Honda Civic Rack And Pinion Parts Questions & Experts Answers
- Q: How to remove a Rack And Pinion from a Honda Civic?A: Park the vehicle, loosen the front wheel lug nuts, lift the vehicle, and secure it on jackstands. Use the parking brake and take off the wheels. Disconnect the battery cable and mark the U-joint relationship. Remove the undercarriage trim panels, disconnect the power steering motor connector, and remove the motor. Separate the tie-rod ends, disconnect the rack and pinion connector, and remove the ground connection. Separate the engine wire harness and remove the rack and pinion brackets. Remove the mounting nuts and bolts. Lower the rack and pinion, guide it through the wheel opening, and raise it up and remove it. Raise it into position and connect the U-joint. Install the mounting bolts and nuts, U-joint pinch bolts, and the power steering motor. Install the wheels and lug nuts, lower the vehicle, tighten the lug nuts, and have the alignment checked.
Related Honda Civic Parts
Browse by Year
2023 Rack And Pinion 2022 Rack And Pinion 2021 Rack And Pinion 2020 Rack And Pinion 2019 Rack And Pinion 2018 Rack And Pinion 2017 Rack And Pinion 2016 Rack And Pinion 2015 Rack And Pinion 2014 Rack And Pinion 2013 Rack And Pinion 2012 Rack And Pinion 2011 Rack And Pinion 2010 Rack And Pinion 2009 Rack And Pinion 2008 Rack And Pinion 2007 Rack And Pinion 2006 Rack And Pinion 2005 Rack And Pinion 2004 Rack And Pinion 2003 Rack And Pinion 2002 Rack And Pinion 2001 Rack And Pinion 2000 Rack And Pinion 1999 Rack And Pinion 1998 Rack And Pinion 1997 Rack And Pinion 1996 Rack And Pinion 1995 Rack And Pinion 1994 Rack And Pinion 1993 Rack And Pinion 1992 Rack And Pinion 1991 Rack And Pinion 1990 Rack And Pinion 1989 Rack And Pinion 1988 Rack And Pinion 1987 Rack And Pinion 1986 Rack And Pinion 1985 Rack And Pinion 1984 Rack And Pinion 1983 Rack And Pinion 1982 Rack And Pinion 1981 Rack And Pinion 1980 Rack And Pinion 1979 Rack And Pinion 1978 Rack And Pinion 1977 Rack And Pinion 1976 Rack And Pinion 1975 Rack And Pinion 1974 Rack And Pinion 1973 Rack And Pinion
