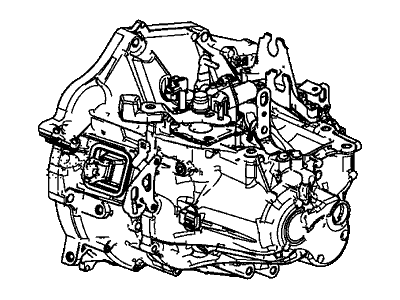
Read through the entire procedure before beginning. The engine and transaxle are removed as a unit from below, then separated outside the vehicle. Removal starts with setting the steering wheel straight ahead and locking it. Adjust the steering column tilt and telescoping to the center positions. Under the driver's side of the instrument panel, remove the steering column coupler cover. Use wire to tie the upper and lower ends of the column shaft together at the U-joints to prevent the lower part from sliding out after disconnecting from the rack and pinion. Loosen the pinch bolt at the lower U-joint. Open the hood, cover the fenders and cowl, then remove the air intake duct, air filter housing, and, on Civic models, the plastic fasteners, upper cover, wiper arms, wiper cowl, and lower cowl panel. Remove the battery, battery tray, and the PCM and bracket. On CR-V and Civic CVT models, disconnect the shift cable from the transaxle. Label and disconnect all vacuum lines, emissions hoses, electrical connectors, and harness clamps/brackets. Disconnect the transaxle fluid cooler lines and unbolt the ATF warmer from the transaxle on specific models. Support the engine with an engine support fixture or hoist. Remove the upper transaxle-to-engine bolts, ground cable, transaxle mount, and bracket. After raising the vehicle, remove the wheels, engine splash shield, inner fender splash shields, and drain the transaxle fluid. Remove the subframe. On certain models, unbolt the ATF warmer. Remove the torque converter cover, mark the relationship of the torque converter to the driveplate, and remove the bolts connecting them. Remove drive axles, intermediate shaft, catalytic converter, and pipe or transfer case on specific models. Support the transaxle with a jack, remove the remaining transaxle-to-engine bolts, and lower the transaxle from the vehicle. Installation starts with flushing the transaxle cooler and hoses. Ensure the torque converter hub is engaged in the transaxle pump and raise the transaxle into position. Align marks on the torque converter and driveplate, engage the dowel pins, and tighten the transaxle-to-engine bolts. Continue the installation by tightening the subframe bolts, driveplate bolts, driveaxle/hub nuts, and using new O-rings on the ATF warmer. Refill the transaxle with lubricant, start the engine, shift through gears, and check fluid levels. Finally, road test the vehicle for any fluid leaks.
Posted by HondaPartsNow Specialist 


