×
- Live Chat
- 1-888-984-2011

My Garage
My Account
Cart
Genuine Honda Ridgeline Drive Shaft
Axle Shaft- Select Vehicle by Model
- Select Vehicle by VIN
Select Vehicle by Model
orMake
Model
Year
Select Vehicle by VIN
For the most accurate results, select vehicle by your VIN (Vehicle Identification Number).
4 Drive Shafts found
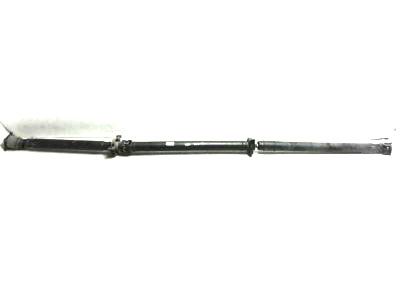
Honda Ridgeline Shaft Assembly, Propeller
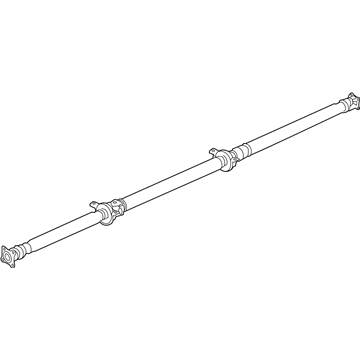
Part Number: 40100-SJC-A12$1016.70 MSRP: $1467.10You Save: $450.40 (31%)Honda Ridgeline Shaft Assembly, Propeller
Part Number: 40100-T6Z-A01$1215.65 MSRP: $1754.18You Save: $538.53 (31%)Honda Ridgeline SHAFT, PROPELLER
Part Number: 40100-T6Z-A02$1215.65 MSRP: $1754.18You Save: $538.53 (31%)
Honda Ridgeline Drive Shaft
The Drive Shaft for Honda Ridgeline car brand provides the simple mandate of transferring mechanical power and torque from the engine or transmission to the drive wheels. This component is crucial in the transmission of power to the wheels which enhances the operation of the vehicle. In the Ridgeline, the Drive Shaft mostly has U-joints or more advanced splined joints as a means of ensuring that any two connected units he of different alignment volume as well as lengths. Honda Ridgeline models of different years have used one-piece and two-piece driveshafts to enable the car to move. The drive shaft variant to be adopted may determine issues to do with weight balance and crash safety. Transmissions can be 4-wheel or 4-wheel fitted with different driveshafts with transfer cases being used to control the allocation of power between the front and rear axles. Another area where the manufacturers have been able to design and achieve flexibility and responsiveness is through the differentiation of handling, steering, suspension, and power throughout the different models of a given automobile brand for a given model of automobile.
In search of affordable OEM Honda Ridgeline Drive Shaft? Consider browsing through our extensive inventory of genuine Honda Ridgeline Drive Shaft. Not only do we provide market-leading prices and a manufacturer's warranty, but we also pride ourselves on exceptional customer service and swift delivery.
Honda Ridgeline Drive Shaft Parts Questions & Experts Answers
- Q: How to remove the intermediate shaft and Drive Shaft in a Honda Ridgeline?A: Raise the front of the vehicle and securely support it on jack stands. Drain the transaxle lubricant. Remove the right drive axle. Remove the exhaust pipe bracket and bearing support-to-engine block bolts, and slide the intermediate shaft out of the transaxle. Be careful not to damage the Differential Seal when pulling out the shaft. Check the support bearing for smooth operation by turning the shaft while holding the bearing. If it feels rough or sticky, it should be replaced. Take it to a dealer service department or other repair shop, as special tools are needed for this job. Lubricate the lips of the transaxle seal with multi-purpose grease. Carefully guide the intermediate shaft into the transaxle side gear, then install the mounting bolts through the bearing support. Tighten the bolts. Reinstall the drive axle. Refill the transaxle with the proper type and amount of lubricant.
- Q: How to inspect and replace a driveshaft on Honda Ridgeline?A: Raise the rear of the vehicle, securely support it on jackstands, and block the front wheels. With the parking brake off and the transaxle in Neutral, inspect the driveshaft for dents or cracks. If dents or cracks are present, the driveshaft needs replacement. Examine for oil leakage at the driveshaft's front and rear; leakage at the Transfer Case suggests a faulty seal, while leakage at the Differential suggests a defective pinion seal. Have an assistant rotate a rear wheel to check the driveshaft's movement. Listen for noise from the center bearing and inspect the rubber portion for cracks or separation. To check the universal joints' condition, twist them with your hands. If there's movement or noise, the driveshaft should be replaced. To measure driveshaft runout, use a dial indicator, and if the runout is beyond the allowable limit, replace the driveshaft. Ensure the driveshaft mounting bolts are tight. For removal and installation, after supporting the vehicle on jackstands and ensuring the transaxle is in Neutral, make reference marks on the driveshaft flanges, the differential pinion flange, and the transfer case pinion flange. This preserves the driveshaft balance during reinstallation. Next, remove the rear universal joint bolts, using a screwdriver to prevent shaft rotation while loosening the bolts. Detach the driveshaft safety loops and the center support bearing from the floorpan. Unbolt the driveshaft front from the transfer case flange and take out the driveshaft assembly. When reinstalling, follow the reverse procedure, aligning the marks on the flanges, and ensuring all fasteners are tightened.


