×
- Live Chat
- 1-888-984-2011

My Garage
My Account
Cart
Genuine Honda Ridgeline Car Speakers
Audio Speakers- Select Vehicle by Model
- Select Vehicle by VIN
Select Vehicle by Model
orMake
Model
Year
Select Vehicle by VIN
For the most accurate results, select vehicle by your VIN (Vehicle Identification Number).
13 Car Speakers found
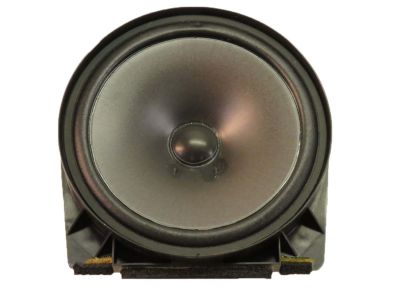
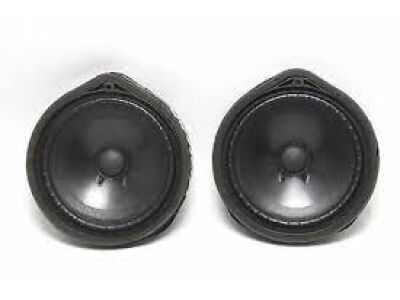
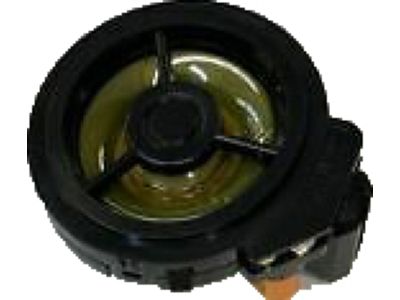
Honda Ridgeline Speaker Assembly (17Cm) (Single) (Pioneer)
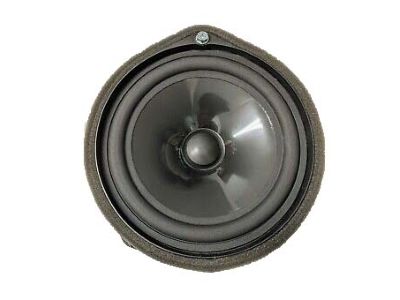
Part Number: 39120-SDA-A02$23.38 MSRP: $33.02You Save: $9.64 (30%)Honda Ridgeline Speaker Assembly, Tweeter (Std) (Pioneer)
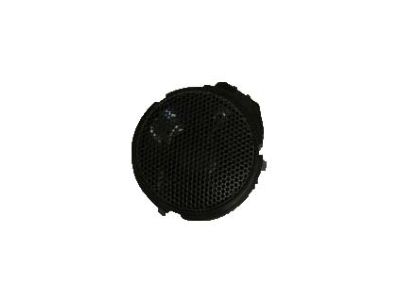
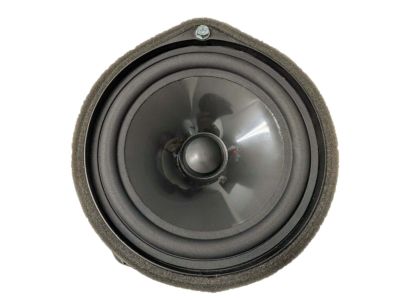
Part Number: 39120-SJC-A01$20.77 MSRP: $29.33You Save: $8.56 (30%)Honda Ridgeline Speaker Assembly, Tweeter
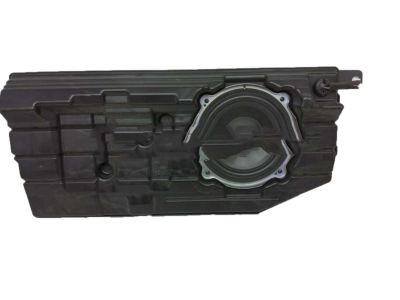
Part Number: 39120-T2A-A01$21.05 MSRP: $29.73You Save: $8.68 (30%)Honda Ridgeline Speaker Assembly, 17Cm Si
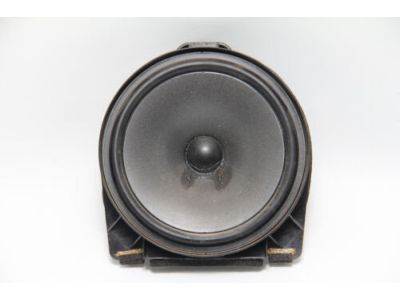
Part Number: 39120-T2A-A21$47.32 MSRP: $66.83You Save: $19.51 (30%)Honda Ridgeline Speaker Assembly (17Cm) (Single) (Pioneer)
Part Number: 39120-SJC-A31$35.47 MSRP: $50.10You Save: $14.63 (30%)Honda Ridgeline Speaker Assembly, Tweeter (Premium) (Pioneer)
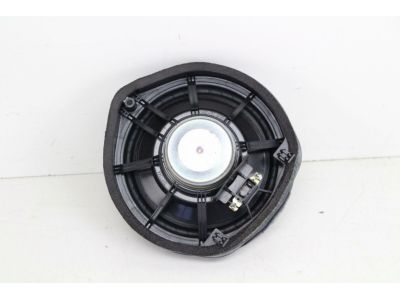
Part Number: 39120-SJC-A11$34.17 MSRP: $48.27You Save: $14.10 (30%)Honda Ridgeline Speaker Assembly (8Cm) (Center) (Panasonic)
Part Number: 39120-TG7-A61$28.80 MSRP: $40.68You Save: $11.88 (30%)Honda Ridgeline Speaker Assembly (17Cm) (Panasonic)
Part Number: 39120-TG7-A51$34.09 MSRP: $48.15You Save: $14.06 (30%)Honda Ridgeline Speaker Assembly, Subwoofer
Part Number: 39120-T6Z-A21$145.98 MSRP: $207.95You Save: $61.97 (30%)Honda Ridgeline Speaker Assembly (17Cm) (Single) (Pioneer)
Part Number: 39120-SJC-A41$19.18 MSRP: $27.08You Save: $7.90 (30%)Honda Ridgeline Speaker Assembly, Tweeter (Panasonic)
Part Number: 39120-TG7-A11$27.28 MSRP: $38.53You Save: $11.25 (30%)Honda Ridgeline Speaker Assembly, Exciter
Part Number: 39120-T6Z-A11$98.42 MSRP: $139.02You Save: $40.60 (30%)
Honda Ridgeline Car Speakers
In search of affordable OEM Honda Ridgeline Car Speakers? Consider browsing through our extensive inventory of genuine Honda Ridgeline Car Speakers. Not only do we provide market-leading prices and a manufacturer's warranty, but we also pride ourselves on exceptional customer service and swift delivery.
Honda Ridgeline Car Speakers Parts Questions & Experts Answers
- Q: How to remove and install Speakers on Honda Ridgeline?A: To start removing the radio without navigation, you have to remove the instrument trim panel or the radio trim panel depending on which model it is. After this, you need to unscrew the mounting screws of the radio and unplug its Antenna and electrical connections from its back. If you want to replace your old radio, take off these brackets from it and set them up on your new one. For installation purposes, just do what you did during removal in reverse order. For the models that have navigation, take out the center lower trim panel and heater/air conditioning control assembly. Since their mounting brackets are shared by both the radio and control assembly assemblies, proceed by removing CD changer screws from each bracket then removeradio itself (Wesley 4). The reverse is applicable when it comes to installation of a car stereo unit. To remove CD changer without navigation goes like this: firstly take off center lower trim panel along with heater/air conditioning control assembly (Wesley 4). These brackets are used for fastening Cd changer mounts as well as seat heater switches and controller units; thus remove Cd changer screws from every bracket including seat heating regulator ones while pulling out a multi-disc player (Wesley 4). On installing another CD changer instead of a previous one requires uninstalling these brackets then attaching them onto anew device (Wesley 4). Installation is the reverse of removal. With cars having navigation systems installed in them, slide back driver's seat then detach four Cd changer nuts (Wesley 5). Lift it up slightly, pull wiring harness connector away from an appliance prior to getting rid of compact disk charger itself (Wesley 5). To fix a similar component in place of an older model requires first taking these mountings off prior to fixing them onto another unit (Wesly 7), so installation occurs as per elimination procedure requirements. To get door speakers out use a molding remover tool to pry out the speaker grille or remove the door trim panel (Wesley 7). Unscrew the speaker mounting screws, unplug its electrical connector then take it away from the door (Wesley 8). The reverse is applicable when it comes to installation of a car stereo unit. For removing tweeters: use a trim removal tool in order to pull out tweeter from dashboard (Wesley 9). Disconnect the electrical connector on top of tweeter. The reverse is applicable when it comes to installation of a car stereo unit. To remove woofer take off speaker grille or right rear trim panel (Wesly 10). Remove screws that hold speakers in place; subsequently draw them out of their respective bores; and disconnect wiring harness plug before finally getting rid of this appliance from an automobile completely (Wesly 11). Installation is the reverse of removal.
