×
- Live Chat
- 1-888-984-2011

My Garage
My Account
Cart
Genuine Honda Ridgeline Brake Pad Set
Disc Brake Pad Set- Select Vehicle by Model
- Select Vehicle by VIN
Select Vehicle by Model
orMake
Model
Year
Select Vehicle by VIN
For the most accurate results, select vehicle by your VIN (Vehicle Identification Number).
10 Brake Pad Sets found
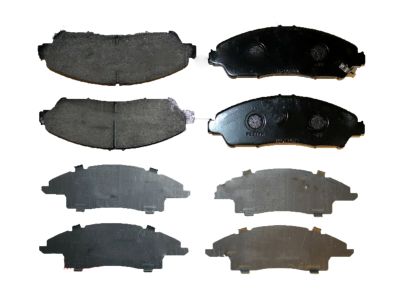
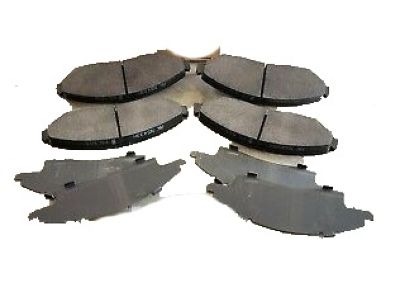
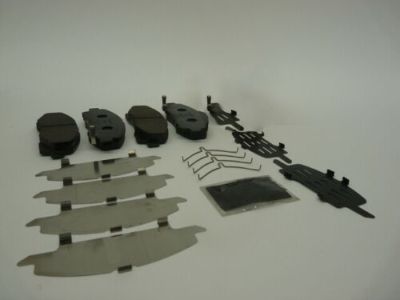
Honda Ridgeline Set, Pad Front (17In, 28T)
Part Number: 45022-SJP-A01$64.56 MSRP: $91.18You Save: $26.62 (30%)Honda Ridgeline Set, Pad Front (17In, 28T)
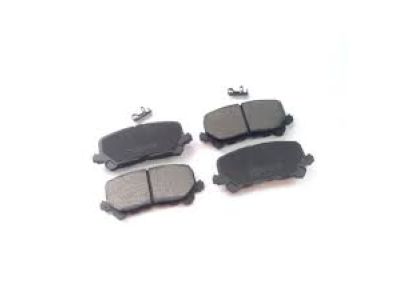
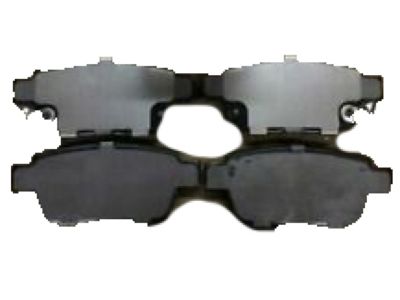
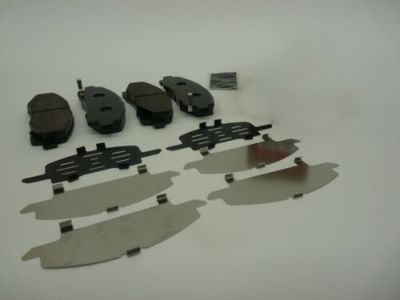
Part Number: 45022-SJC-A02$64.56 MSRP: $91.18You Save: $26.62 (30%)
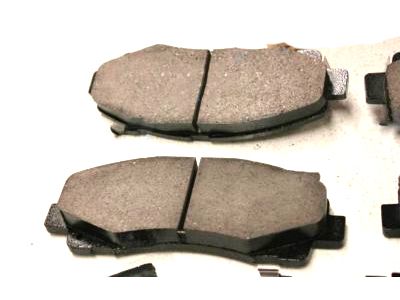
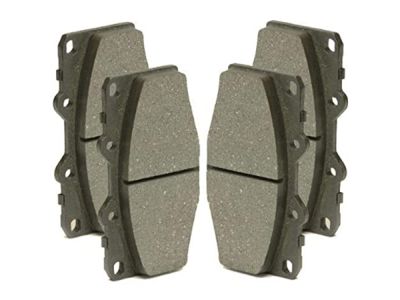
Honda Ridgeline Brake Pad Set
The Brake Pad Set is so important in Honda Ridgeline vehicles to enable brake through friction that applies force on the brake rotors. These pads are generally metallic and contain synthetic materials fabricated to tolerate heat likely to be produced by the brake drum. As with all components, it's used up through normal operation and typically has an indicator to tell the driver when the pads are thinning and need replacement. In the course of the production of Honda Ridgeline models, it is likely that over the years non-metallic and semi metallic and ceramic brake pad sets may have been used and the common features include friction, wear and noise level. Also, associated parts such as clips or springs of the Brake Pad Set can be replaced in order to obtain maximum performance and durability of the Brake Pad Set. The Brake Pad Set requires proper quality check and maintenance besides having the premier of the set selected that will ensure the Ridgeline brakes well.
In search of affordable OEM Honda Ridgeline Brake Pad Set? Consider browsing through our extensive inventory of genuine Honda Ridgeline Brake Pad Set. Not only do we provide market-leading prices and a manufacturer's warranty, but we also pride ourselves on exceptional customer service and swift delivery.
Honda Ridgeline Brake Pad Set Parts Questions & Experts Answers
- Q: How to replace Brake Pad on Honda Ridgeline?A: This procedure applies to both front and rear disc brakes. Begin by removing the cap from the brake fluid reservoir. Loosen the wheel lug nuts, raise the front or rear of the vehicle, support it on jackstands, and block the wheels at the opposite end. Take off the wheels and work on one brake assembly at a time, using the other assembled brake for reference. Inspect the Brake Disc carefully, and if machining is necessary, remove the disc and subsequently the pads. Push the piston back into its bore using a C-clamp, ensuring that the fluid in the master cylinder doesn't overflow; if it looks like it might, remove some of the fluid. Before proceeding, clean the brake assembly with brake cleaner, letting it dry and placing a drain pan underneath to catch any residue; avoid using compressed air. Detach the caliper by removing the lower bolt, and for full detachment, both bolts; ensure the caliper doesn't hang by the brake hose. Secure it with a wire, then remove the inner and outer pads and shims, noting the position of any metal wear indicators. Take off the shim(s) from each pad, noting their order and position. Apply disc brake grease between the shim(s) and the back of each brake pad. Replace the shims on the pads in their original order and position. Remove and check the fit of the upper and lower pad support plates, replacing them if necessary. Clean the upper and lower sliding pins, grease them with high-temperature grease, and put them back, ensuring the pin boots aren't damaged. Reinstall the inner and outer pads, ensuring they're seated correctly on the support plates and any wear indicators are in the original positions. Reposition the caliper over the pads, secure it with the bolts, and tighten them. Once completed, depress the brake pedal a few times to adjust the pads with the disc. Lastly, check the brake fluid level and adjust if needed, and test the brakes before returning the vehicle to normal use.
Related Honda Ridgeline Parts
Browse by Year
2023 Brake Pad Set 2022 Brake Pad Set 2021 Brake Pad Set 2020 Brake Pad Set 2019 Brake Pad Set 2018 Brake Pad Set 2017 Brake Pad Set 2014 Brake Pad Set 2013 Brake Pad Set 2012 Brake Pad Set 2011 Brake Pad Set 2010 Brake Pad Set 2009 Brake Pad Set 2008 Brake Pad Set 2007 Brake Pad Set 2006 Brake Pad Set
