×
- Hello
- Login or Register
- Quick Links
- Live Chat
- Track Order
- Parts Availability
- RMA
- Help Center
- Contact Us
- Shop for
- Honda Parts
- Honda Accessories

My Garage
My Account
Cart
Genuine Honda Pilot Steering Column
Steering Column Tilt- Select Vehicle by Model
- Select Vehicle by VIN
Select Vehicle by Model
orMake
Model
Year
Select Vehicle by VIN
For the most accurate results, select vehicle by your VIN (Vehicle Identification Number).
17 Steering Columns found

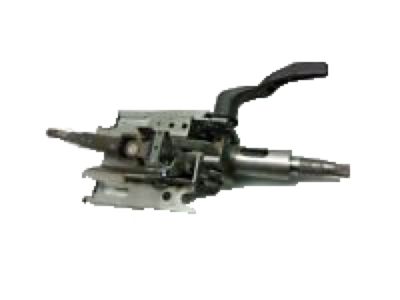
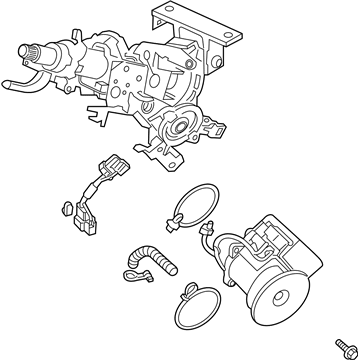
Honda Pilot Column Assembly, Steering
Part Number: 53200-SZA-A01$491.72 MSRP: $709.55You Save: $217.83 (31%)
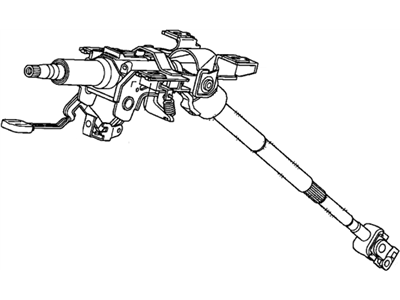
Honda Pilot Column Assembly, Steering
Part Number: 53200-SZA-A02$491.72 MSRP: $709.55You Save: $217.83 (31%)Honda Pilot Column Assembly, Steering
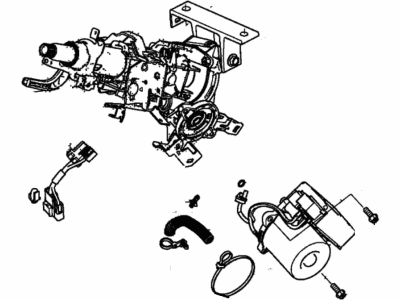
Part Number: 53200-S9V-A03$448.96 MSRP: $647.85You Save: $198.89 (31%)Honda Pilot Column Complete, Steering
Part Number: 53282-TG7-A22$2143.78 MSRP: $3093.48You Save: $949.70 (31%)Honda Pilot Column Complete, Steering
Part Number: 53282-TG7-A21$2451.00 MSRP: $3536.80You Save: $1085.80 (31%)Honda Pilot Column Complete, Steering
Part Number: 53282-TG8-A02$2326.40 MSRP: $3357.00You Save: $1030.60 (31%)Honda Pilot Column Complete, Steering
Part Number: 53282-TG7-A01$2451.00 MSRP: $3536.80You Save: $1085.80 (31%)Honda Pilot COLUMN, STEERING
Part Number: 53282-TG7-A02$2239.85 MSRP: $3232.10You Save: $992.25 (31%)Honda Pilot Column Complete, Steering
Part Number: 53282-TG8-A22$2326.40 MSRP: $3357.00You Save: $1030.60 (31%)Honda Pilot Column Complete, Steering
Part Number: 53282-TG8-A11$2326.40 MSRP: $3357.00You Save: $1030.60 (31%)Honda Pilot Column Complete, Steering
Part Number: 53282-TG8-A23$2359.09 MSRP: $3404.17You Save: $1045.08 (31%)Honda Pilot COLUMN, STEERING
Part Number: 53282-TG8-A03$2359.09 MSRP: $3404.17You Save: $1045.08 (31%)Honda Pilot Column Complete, Steering
Part Number: 53282-TG7-A11$2451.00 MSRP: $3536.80You Save: $1085.80 (31%)Honda Pilot Column, Steering
Part Number: 53282-TG7-A10$2451.00 MSRP: $3536.80You Save: $1085.80 (31%)Honda Pilot Column, Steering
Part Number: 53282-TG8-A10$2326.40 MSRP: $3357.00You Save: $1030.60 (31%)
Honda Pilot Steering Column
Steering Column as used in Honda Pilot cars is an important link between the steering wheel and the steering gear, relaying the required respectively values of angular and torques between the two for the improved response of the car. This component apart from enabling the driver control, comes with safety measures such as the adjustable collapsible steering column, that is designed to absorb impacts during an accident. Honda Pilot Steering Column Types: In the past, different Steering Column was used in Honda Pilot Models which incorporated anti-theft features and different adjustment stage such as height or length of Steering Column for the comfort of the driver. Federal safety standards guarantee that these Steering Columns contain stringent features, both safety and security to improve on the overall functionality and performance. It should therefore be as a matter of importance that the Honda Pilot Steering Column be checked from time to time to ensure it does not exhibit some of these signs of wear that are dangerous to the safety and functionality of the vehicle.
In search of affordable OEM Honda Pilot Steering Column? Consider browsing through our extensive inventory of genuine Honda Pilot Steering Column. Not only do we provide market-leading prices and a manufacturer's warranty, but we also pride ourselves on exceptional customer service and swift delivery.
Honda Pilot Steering Column Parts Questions & Experts Answers
- Q: How to remove and install a steering column on a Honda Pilot?A:Park the vehicle with the wheels pointing straight ahead. Disconnect the cable from the negative terminal of the battery. Adjust the Steering Wheel tilt to the Neutral position, approximately 8 mm down from the uppermost position. On 2007 Acura MDX models, adjust the column to its fully down and (telescopically adjusted) out position. Remove the steering wheel. Prevent the steering shaft from turning. If this is not done, the airbag clock spring could be damaged. Remove the steering column covers. On 2007 Acura MDX models, remove the panel below the instrument panel on the driver's side by pulling the edge closest to you down to release its clips. Disconnect any related electrical connectors. Remove the clock spring. Remove the steering column switches. Remove the shift cable from the shift lever and cable mounting bracket. Remove the steering shaft cover, if equipped. Mark the relationship of the U-joint to the intermediate shaft, then remove the pinch bolt. Detach the clip that holds the main wiring harness to the steering column. Follow the harness and disconnect any remaining electrical connectors. Remove the steering column mounting fasteners, lower the column and pull it to the rear, making sure nothing is still connected, then remove the column. Guide the steering column into position while connecting the intermediate shaft with the U-joint at the bottom - noting the alignment marks made previously. Install the steering column mounting fasteners and tighten them to the torque. Install the intermediate shaft pinch bolt and nut, tightening it to the torque. The remainder of installation is the reverse of removal. Reconnect the negative battery cable.
Related Honda Pilot Parts
Browse by Year
2025 Steering Column 2024 Steering Column 2023 Steering Column 2022 Steering Column 2021 Steering Column 2020 Steering Column 2019 Steering Column 2018 Steering Column 2017 Steering Column 2016 Steering Column 2015 Steering Column 2014 Steering Column 2013 Steering Column 2012 Steering Column 2011 Steering Column 2010 Steering Column 2009 Steering Column 2008 Steering Column 2007 Steering Column 2006 Steering Column 2005 Steering Column 2004 Steering Column 2003 Steering Column
