×
- Live Chat
- 1-888-984-2011

My Garage
My Account
Cart
Genuine Honda Pilot Instrument Panel
- Select Vehicle by Model
- Select Vehicle by VIN
Select Vehicle by Model
orMake
Model
Year
Select Vehicle by VIN
For the most accurate results, select vehicle by your VIN (Vehicle Identification Number).
17 Instrument Panels found
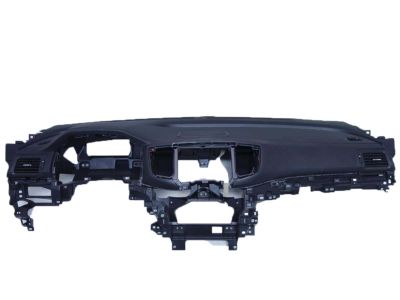
Honda Pilot Panel Ass*NH900L*
Part Number: 77100-TG7-A02ZA$899.51 MSRP: $1298.00You Save: $398.49 (31%)Honda Pilot Panel Ass*NH900L*
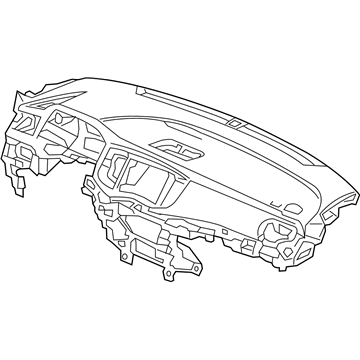
Part Number: 77100-TG7-A12ZA$732.00 MSRP: $1056.28You Save: $324.28 (31%)Honda Pilot PANEL, INST *NH900L*
Part Number: 77100-TG7-A13ZA$732.00 MSRP: $1056.28You Save: $324.28 (31%)Honda Pilot Panel Assy., Instrument Center*NH167L* (GRAPHITE BLACK)
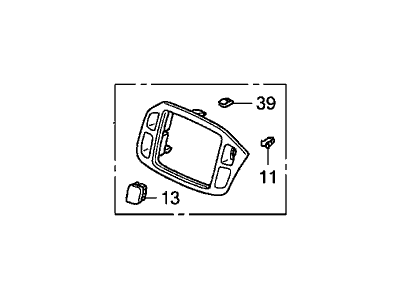
Part Number: 77250-S9V-A51ZA$87.73 MSRP: $179.70You Save: $91.97 (52%)Honda Pilot Panel Assy., Instrument *YR309L* (LIGHT BEIGE)
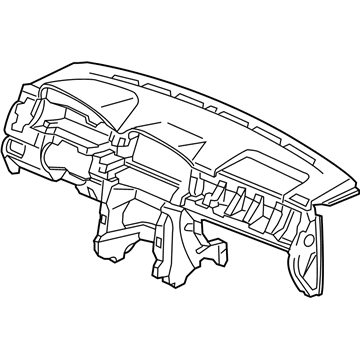
Part Number: 77100-SZA-A03ZD$468.60 MSRP: $676.18You Save: $207.58 (31%)Honda Pilot Panel Assy., Instrument *NH686L* (WARM GRAY)
Part Number: 77100-SZA-A03ZC$468.60 MSRP: $676.18You Save: $207.58 (31%)Honda Pilot PANEL ASSY- *NH900L*
Part Number: 77100-T90-A04ZA$557.38 MSRP: $804.30You Save: $246.92 (31%)Honda Pilot Panel Assy., Instrument Center*NH167L* (GRAPHITE BLACK)
Part Number: 77250-S9V-A01ZA$8.11 MSRP: $33.20You Save: $25.09 (76%)Honda Pilot Panel Assy., Instrument *B168L* (SKYLINE BLUE)
Part Number: 77100-SZA-A01ZA$430.64 MSRP: $608.25You Save: $177.61 (30%)Honda Pilot Panel, Instrument *NH574L* (TU WARM GRAY)
Part Number: 77101-S9V-A03ZD$252.71 MSRP: $690.12You Save: $437.41 (64%)Honda Pilot Panel, Instrument *NH607L* (TU DARK GRAY)
Part Number: 77101-S9V-A03ZE$315.47 MSRP: $738.45You Save: $422.98 (58%)Honda Pilot PANEL ASSY- *NH900L*
Part Number: 77100-T90-A14ZA$557.38 MSRP: $804.30You Save: $246.92 (31%)Honda Pilot Panel Ass*NH167L*
Part Number: 77100-SZA-A03ZB$469.13 MSRP: $676.95You Save: $207.82 (31%)
Honda Pilot Instrument Panel
In search of affordable OEM Honda Pilot Instrument Panel? Consider browsing through our extensive inventory of genuine Honda Pilot Instrument Panel. Not only do we provide market-leading prices and a manufacturer's warranty, but we also pride ourselves on exceptional customer service and swift delivery.
Honda Pilot Instrument Panel Parts Questions & Experts Answers
- Q: How to remove and install a Instrument Panel on Honda Pilot?A: This is a difficult procedure for the home mechanic. There are many hidden fasteners, difficult angles to work in and many electrical connectors to tag and disconnect/connect. We recommend that this procedure be done at a dealership or qualified shop. During removal of the instrument panel, make careful notes of how each piece comes off, where it fits in relation to other pieces and what holds it in place. If you note how each part is installed before removing it, getting the instrument panel back together again will be much easier. It is not necessary, but it is suggested to remove both front seats to allow additional working space and lessen the chance of damage to the seats during this procedure. Turn the front wheels to the straight-ahead position and lock the steering column. Disconnect the cable from the negative battery terminal. Remove the right and left side kick panels. Remove the instrument panel end caps. Remove the center console. Remove the A-pillar trim from both sides of the instrument panel. Remove all of the dashboard trim panels. Remove the instrument cluster. Remove the audio unit and the air conditioning control panel. Remove the steering column. Disconnect the harness connector from the Occupant Restraint Controller. Disconnect the instrument panel electrical connectors. A number of electrical connectors must be disconnected in order to remove the instrument panel. Most are designed so that they will only fit on the matching connector, but if there is any doubt, mark the connectors with masking tape and a marking pen before disconnecting them. Remove the bolt securing the fuse/relay box. Disconnect any remaining electrical connectors, then remove the instrument panel retaining fasteners. Remove the instrument panel from the vehicle. Installation is the reverse of removal.
Related Honda Pilot Parts
Browse by Year
2024 Instrument Panel 2023 Instrument Panel 2022 Instrument Panel 2021 Instrument Panel 2020 Instrument Panel 2019 Instrument Panel 2018 Instrument Panel 2017 Instrument Panel 2016 Instrument Panel 2015 Instrument Panel 2014 Instrument Panel 2013 Instrument Panel 2012 Instrument Panel 2011 Instrument Panel 2010 Instrument Panel 2009 Instrument Panel 2008 Instrument Panel 2007 Instrument Panel 2006 Instrument Panel 2005 Instrument Panel 2004 Instrument Panel 2003 Instrument Panel


