×
- Live Chat
- 1-888-984-2011

My Garage
My Account
Cart
Genuine Honda Passport A/C Condenser
Air Conditioning Condenser- Select Vehicle by Model
- Select Vehicle by VIN
Select Vehicle by Model
orMake
Model
Year
Select Vehicle by VIN
For the most accurate results, select vehicle by your VIN (Vehicle Identification Number).
7 A/C Condensers found
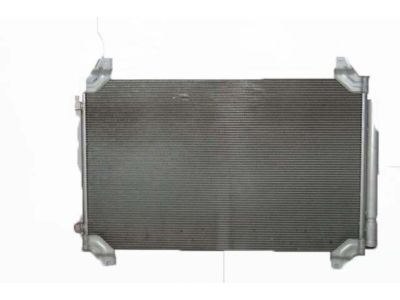
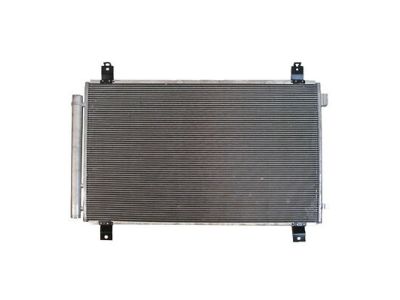
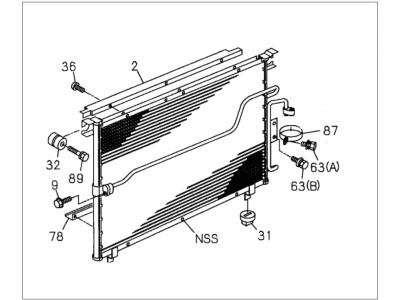
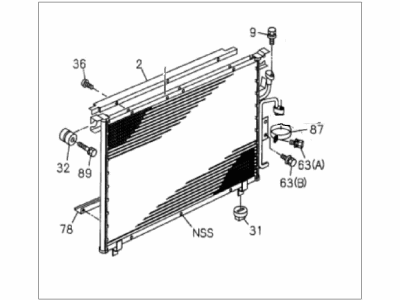
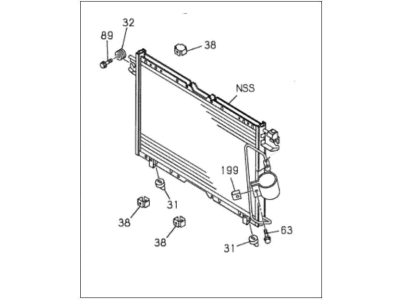
Honda Passport Condenser, Air Conditioner
Part Number: 8-97288-835-0$488.14 MSRP: $704.38You Save: $216.24 (31%)
Honda Passport A/C Condenser
A/C Condenser is serving as heat exchanger in Honda Passport vehicles and it has to condense the gaseous refrigerant and turn out it into a liquid form before it goes to the accumulator. Often mounted on the front side of the radiator, this part includes a sequence of channels through which the cooling goes. Although the overview does not discuss differences in specific types or styles of A/C Condensers for different Honda Passport models, the basic construction and working of the A/C Condenser is similar. Thus the main function of the A/C Condenser lies in the refrigerant control to support the performance of the air-conditioning system in a car.
In search of affordable OEM Honda Passport A/C Condenser? Consider browsing through our extensive inventory of genuine Honda Passport A/C Condenser. Not only do we provide market-leading prices and a manufacturer's warranty, but we also pride ourselves on exceptional customer service and swift delivery.
Honda Passport A/C Condenser Parts Questions & Experts Answers
- Q: How to remove and install a air conditioning condenser in the Honda Passport?A: Have the refrigerant discharged by an air conditioning technician. Remove the grille. If equipped with air conditioning, remove the condenser cooling fan. Disconnect the inlet and outlet fittings. On 1997 and earlier models, disconnect the refrigerant line on the left side by unbolting this flange; to detach the left end of the condenser, remove the left mounting bolt. On1998 and later models, disconnect the compressor discharge line from the condenser by removing this bolt. The other refrigerant line is welded to the bottom left corner of the condenser; disconnect it from the receiver-drier. The left-side fitting is at the receiver/drier. Cap the open fittings immediately to keep moisture and dirt out of the system. Remove and discard all old O-rings. The O-rings must NOT be reused, or the system will leak. On 1997 and earlier models, remove the two bolts through the radiator support, and the hood latch and its support bracket. The bottom of the condenser is mounted in rubber "doughnuts" on the body, and the top of the condenser is "captured" by the radiator core support. To remove the condenser once the lines and fasteners are off, pull the condenser straight up until the bottom is out of its rubber mounts. Then swing the bottom of the condenser forward until it clears the body and can be dropped down. When the condenser top is free of the radiator support, pull it up and out of the vehicle. On 1998 and later models, remove the hood latch and the vertical support, then remove the left and right condenser mounting bolts. Then tilt the upper edge of the condenser forward and lift the condenser assembly out of the vehicle. Inspect the rubber insulators that position and cushion the lower edge of the condenser. If they're cracked, torn, or deteriorated, replace them. When installing the condenser, make sure that the condenser locator pins are fully inserted into the insulator cushions. Using new O-rings, reconnect the refrigerant lines. If a new condenser has been installed, add about 1.4 to 1.7 ounces of new refrigerant oil. Installation is otherwise the reverse of removal. Have the system evacuated, charged, and leak tested by the shop that discharged it.
