×
- Hello
- Login or Register
- Quick Links
- Live Chat
- Track Order
- Parts Availability
- RMA
- Help Center
- Contact Us
- Shop for
- Honda Parts
- Honda Accessories

My Garage
My Account
Cart
Genuine Honda Fit Hood
Engine Hood- Select Vehicle by Model
- Select Vehicle by VIN
Select Vehicle by Model
orMake
Model
Year
Select Vehicle by VIN
For the most accurate results, select vehicle by your VIN (Vehicle Identification Number).
4 Hoods found

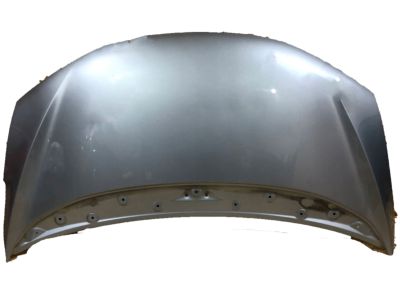
Honda Fit Hood, Engine (DOT)
Part Number: 60100-T5R-A90ZZ$543.57 MSRP: $784.37You Save: $240.80 (31%)
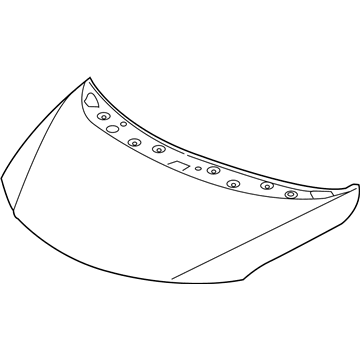
Honda Fit Hood, Engine (DOT)
Part Number: 60100-SLN-A90ZZ$265.68 MSRP: $378.47You Save: $112.79 (30%)
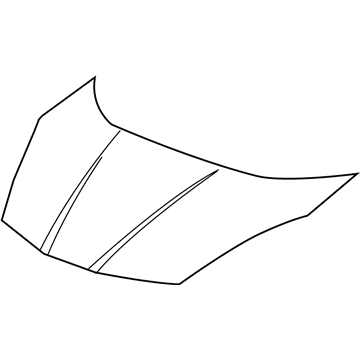
Honda Fit Hood Complete (Dot)
Part Number: 60100-TK6-315ZZ$287.64 MSRP: $409.75You Save: $122.11 (30%)
Honda Fit Hood
In search of affordable OEM Honda Fit Hood? Consider browsing through our extensive inventory of genuine Honda Fit Hood. Not only do we provide market-leading prices and a manufacturer's warranty, but we also pride ourselves on exceptional customer service and swift delivery.
Honda Fit Hood Parts Questions & Experts Answers
- Q: How should the hood be removed and installed properly on Honda Fit?A:The hood is quite bulky, and some maneuvering is needed to remove or install it, it is recommended to have at least two people for this. Starting with blankets or pads follows the protection of the paint at the cowl area of the body and the Fenders. Score a line around the hood hinge for installation purposes or scribe a line for the line of the car, and thereafter, cut any cable or any wire that hampers on the process of removal. Ask for an assistant to hold one side of the hood while you hold the other side, then unstow the hinge-to-hood nut while you keep supporting the hood with your shoulder. For the installation, lift of the hood and turn through the reverse process. For alignment, the fore-and-aft as well as the side-to-side adjustment is possible by shifting the hinge plate slot in case the mounting bolts or nuts are loosened. Trace around the hinge plate with a pencil to find out how much it travels and then take off the cowl cover. Lose the bolts or nuts and align the hood into the desired position and then tighten the hinge bolts and slowly drop the hood to the desired position. If required, both the components of the Hood Latch assembly can be moved up and down so that turning the hood edge cushions will complete it and the hood will be closed tightly against the fenders. Required change of hood height at the forward edge of the hood latch should be done by shifting the latch right or left until the striker is aligned to the middle of the latch. A reference line or mark can be drawn around the latch mounting bolts after which the bolts are then loosened and the position of the latch assembly altered before the bolts are tightened again.


