×
- Hello
- Login or Register
- Quick Links
- Live Chat
- Track Order
- Parts Availability
- RMA
- Help Center
- Contact Us
- Shop for
- Honda Parts
- Honda Accessories

My Garage
My Account
Cart
Genuine Honda CRX Drive Belt & V Belt
Serpentine Belt- Select Vehicle by Model
- Select Vehicle by VIN
Select Vehicle by Model
orMake
Model
Year
Select Vehicle by VIN
For the most accurate results, select vehicle by your VIN (Vehicle Identification Number).
18 Drive Belt & V Belt found

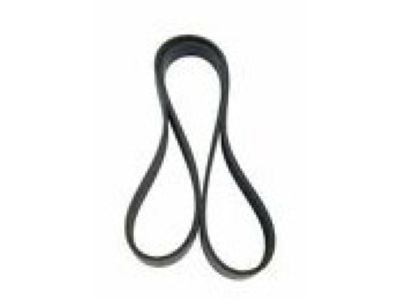
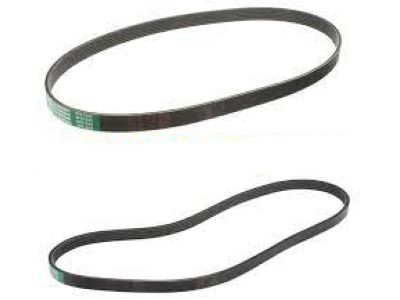
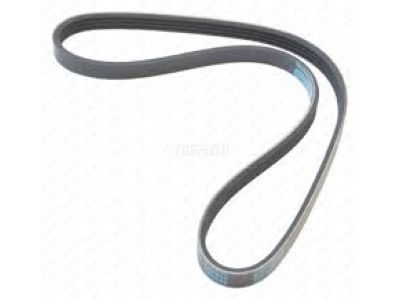
Honda CRX Belt, Compressor (Mitsuboshi)
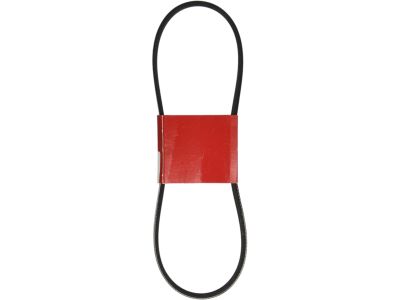
Part Number: 38920-PM5-A22$12.80 MSRP: $20.98You Save: $8.18 (39%)Honda CRX Belt, Compressor (Bando)
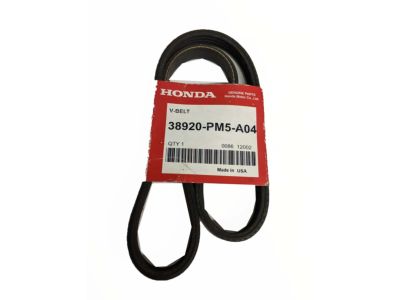
Part Number: 38920-PE1-A01$13.12 MSRP: $18.77You Save: $5.65 (31%)


Honda CRX Drive Belt & V Belt
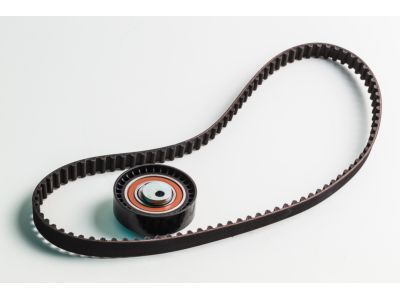
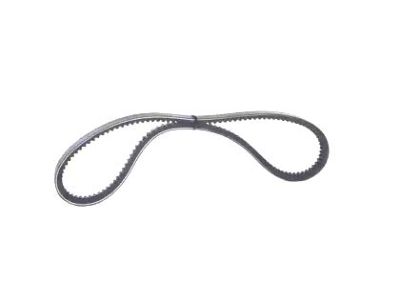
Known as the Drive Belt & V Belt in Honda CRX vehicles, they connect the engine to a number of parts for example, alternator and the A/C compressor. Usually, there is a serpentine belt which goes round these parts and connects them with the crankshaft pulley. Most drive belts are good for 100,000 miles of service, but if they begin to show signs of wear as in fraying or cracking they may have to be replaced as the condition of the engine and parts depends on the drive belt. Honda CRX vehicles may use the V-belts and the multi-groove belts and both are intended to provide greater tractive friction and lesser tendency to slip. When it comes to application in complex transmission paths, V-belts are prime suited for handling alignment issues more creatively than multi-groove belts which provides enhanced flexibility. The drive modifications in these Honda CRX models indicate the development of these Drive Belt & V Belt systems, giving more dependable belts and powered v belt technology.
In search of affordable OEM Honda CRX Drive Belt & V Belt? Consider browsing through our extensive inventory of genuine Honda CRX Drive Belt & V Belt. Not only do we provide market-leading prices and a manufacturer's warranty, but we also pride ourselves on exceptional customer service and swift delivery.
Honda CRX Drive Belt & V Belt Parts Questions & Experts Answers
- Q: How to inspect and adjust the drive belt and tension for the Honda CRX?A:Inspect the drive belt(s) every 30,000 miles (48,300 km)/24 months. Determine the belt tension at a point halfway between the pulleys by pressing on the belt with moderate thumb pressure. The belt should deflect about 1/4 In. (6mm) over a 7-10 In. (178-254mm) span or 1/2 in. (13mm) over a 13-16 in.(330-406mm) span, at this point. If the deflection is found to be too much or too little, perform the tension adjustments. Before adjusting, inspect the belt to ensure it is not cracked or worn and that its surfaces are free of grease and oil. Push down on the belt half way between pulleys with moderate force. The belt should deflect approximately 1/2 in.(13mm). Deflection should be slightly less with a new belt as tension is lost rapidly for the first1/z hour or so of operation. If the belt tension requires adjustment, loosen the top mounting bolt and then turn the adjusting nut outboard of the alternator. This will reposition the alternator without prying. When the belt tension is correct tighten the upper mounting bolt to about 16ft lbs.(24 Nm). Recheck the tension, correcting the adjustment if necessary. Do not apply pressure to any other part of the alternator. To remove the belt, loosen the component-to-mounting bracket bolts. Rotate the component to relieve the tension on the drive belt. Slip the drivebelt from the component pulley and remove it from the engine. If the engine uses more than one belt, It may be necessary to remove other belts that are in front of the one being removed. To install, reverse the removal procedures. Adjust the component drivebelt tension to specifications.
