×
- Live Chat
- 1-888-984-2011

My Garage
My Account
Cart
Genuine Honda CRX Differential Seal
- Select Vehicle by Model
- Select Vehicle by VIN
Select Vehicle by Model
orMake
Model
Year
Select Vehicle by VIN
For the most accurate results, select vehicle by your VIN (Vehicle Identification Number).
2 Differential Seals found
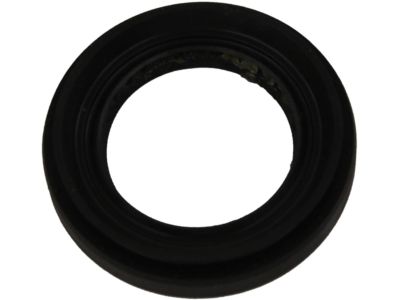
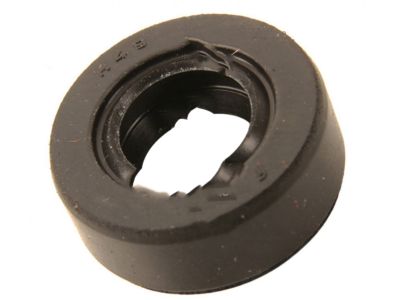
Honda CRX Oil Seal (35X56X8) (Arai)
Part Number: 91205-PL3-A01$12.05 MSRP: $17.17You Save: $5.12 (30%)
Honda CRX Differential Seal
In search of affordable OEM Honda CRX Differential Seal? Consider browsing through our extensive inventory of genuine Honda CRX Differential Seal. Not only do we provide market-leading prices and a manufacturer's warranty, but we also pride ourselves on exceptional customer service and swift delivery.
Honda CRX Differential Seal Parts Questions & Experts Answers
- Q: How do you remove and install the pinion seal on Honda CRX?A: To do away with the pinion seal, the vehicle should be lifted and properly supported and the rear wheel and the tire assembly should be also removed. Lay the rear half shafts back in their normal horizontal position at this lower arms are to be raised back to its normal road level. Locate the distance between the pinion flange and place the driveshaft in similar position, finally remove the drive shaft from the pinion flange. Hence, it is appropriate to employ an adequate inch lb. flange marry, using the torque wrench, turn the pinion flange by the pinion nut and it will give a reading which represents the total bearing preload. Use the appropriate holding tool to hold the pinion flange into position after which the pinion nut has to be unscrewed and removed, then remove the pinion flange as well as the pinion seal using an appropriate removal tool. For installation, one should lubricate the lip of any new pinion seal, and there is an installation tool that should be used to place it. Screw in the pinion flange and the pinion nut until the figure on the inch lb. torque wrench is in agreement with that recorded before removal and the actual torque of the pinion flange nut is 127 ft.lbs. (175Nm). Using the marks made earlier re-connect the drive shaft to the pinion flange and torque the bolts to 24 ft. lbs. (33 Nm). Last of all, mount the wheel as well as the tire assemblies and then leave it lowering down.


