×
- Hello
- Login or Register
- Quick Links
- Live Chat
- Track Order
- Parts Availability
- RMA
- Help Center
- Contact Us
- Shop for
- Honda Parts
- Honda Accessories

My Garage
My Account
Cart
Genuine Honda CRX Clutch Disc
Friction Disc- Select Vehicle by Model
- Select Vehicle by VIN
Select Vehicle by Model
orMake
Model
Year
Select Vehicle by VIN
For the most accurate results, select vehicle by your VIN (Vehicle Identification Number).
10 Clutch Discs found
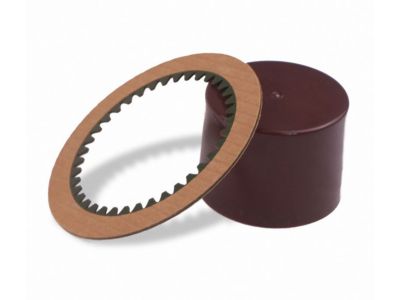
Honda CRX Clutch Disc
In search of affordable OEM Honda CRX Clutch Disc? Consider browsing through our extensive inventory of genuine Honda CRX Clutch Disc. Not only do we provide market-leading prices and a manufacturer's warranty, but we also pride ourselves on exceptional customer service and swift delivery.
Honda CRX Clutch Disc Parts Questions & Experts Answers
- Q: How do you remove and install the Clutch Disc and Pressure Plate on Honda CRX?A:In order to perform the transaxle removal and installation, the following should be done, Turn off the car's negative battery, and support the vehicle's weight. At this step, you ought to unbolt the transaxle at the car and in order to rebuild it, make certain and make sure that you align the flywheel and clutch. There is a flywheel ring gear, find a tool to grab it, followed by the removal of these bolts and the pressure plate and clutch disc in a method that alternates between diagonally opposite bolts to stop warping. Check the flywheel for signs of wear, cracks, and scoring and if the conditions are bad resurface or replace the flywheel. If fitting a new clutch release bearing, then, depending on the model, take off the 8mm special bolt, the release shaft and the release bearing assembly and then separate the release fork from the bearing. Examining of the release bearing should be checked as well as its play; if it is needed it is to be replaced. During reassembly make sure that flywheel and crankshaft mating surfaces are free from contaminants, align the flywheel with the crankshaft dowel pin then tighten flywheel bolts to finger tightness. Lay the ring gear holder on the flywheel and tighten the bolts in a crisscross fashion to 87 ft. lbs. (120 Nm). Secure the clutch disc and pressure plate in position with reference to the dowels and the marks scored at the time of removal and tighten the bolts of pressure plate only enough to hold it in place with fingers. Hand tight the pressure plate clasp to the face of the clutch disc with the help of a clutch disc alignment tool and then tighten it in a complex star like pattern up to a tightening torque of 20 ft.Lb. (26 Nm). Take off the alignment tool and the ring gear holder off. If you are removing release bearing replace it and put just a little amount of molybdnum disulfide grease on ID of the bearing. Last, position the transaxle appropriately into place so the splines of the clutch disc mesh with the cylinder block and fasten the bolts of the transaxle case, next centre the clutch pedal and re-connect the negative cable of the battery.


