×
- Live Chat
- 1-888-984-2011

My Garage
My Account
Cart
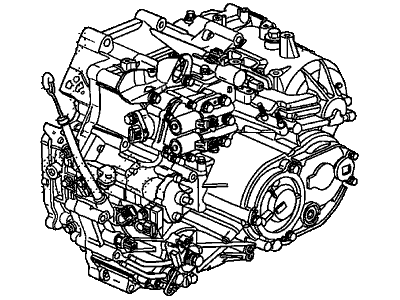
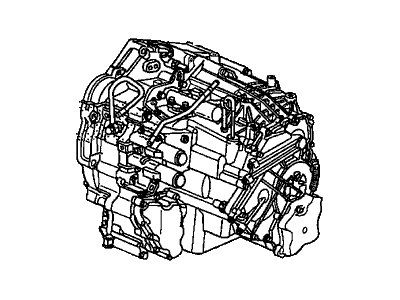
Genuine Honda Crosstour Transmission Assembly
Trans Assembly- Select Vehicle by Model
- Select Vehicle by VIN
Select Vehicle by Model
orMake
Model
Year
Select Vehicle by VIN
For the most accurate results, select vehicle by your VIN (Vehicle Identification Number).
8 Transmission Assemblies found
Honda Crosstour Transmission Assembly
In search of affordable OEM Honda Crosstour Transmission Assembly? Consider browsing through our extensive inventory of genuine Honda Crosstour Transmission Assembly. Not only do we provide market-leading prices and a manufacturer's warranty, but we also pride ourselves on exceptional customer service and swift delivery.
Honda Crosstour Transmission Assembly Parts Questions & Experts Answers
- Q: How do you remove and install a transaxle on Honda Crosstour?A: Here are the steps that can be follow to remove the transaxle, first, open the hood, then put some protective pads or even an old blanket on the fenders and the cowl. Take off the air intake duct and air filter housing and then the battery and battery tray and at last the starter. Temporary remove and protect all vacuum lines, emissions hoses, electrical connectors and wiring harness clamps that may interfere with the removal of the transaxle using masking tape or touch up paint pen. A person should take pictures or draw sketches of places with components that they need to identify in the future. Remove the automatic transaxle fluid cooler lines and save the extra fluid in a container and use compression to close the lines. To do this support the engine with an engine support fixture or hoist, engaging the sling or chain at the left end of the engine. Loose the nuts of the front wheel, chock the car, and then jack up the car and remove the wheels. The inner fender splash shields, the shift control cable from the transaxle requires to be removed by the removal of the engine splash shield. Tilt the vehicle to drain the transaxle fluid, put a new sealing washer on the drain plug if replacing it. Take out the front part of the exhaust pipe, join of the driveaxles together with the intermediate shaft, transaxle brace as well as the torque changer cover. Loosen and remove the nuts that mark the relationship of the torque converter to the driveplate for reinstallation then remove the torque converter to driveplate bolts in sequence with tool 307T loosening the crankshaft pulley for access. Delete all powertrain mounts with the exception of the right side mount, and take out the subframe. Place jack under the transaxle and tighten straps or chains on the stand and then remove the transaxle to engine bolts. Remove the transaxle far enough to clear the dowel pins from the engine block and ensure that the torque converter is separated from the driveplate, and then lower the transaxle down out of the car, maybe lowering the engine a bit to clear the transaxle. For installation, flush the transaxle cooler and lines with solvent and make sure that there are no remnants of the solvent, do the same with the clean automatic transaxle fluid. Before installation, one has to make sure the torque converter hub is fit properly to the transaxle pump next, lift the transaxle into the proper alignment while keeping it horizontal. Make sure that the marks are lined up on the torque converter and driveplate the dowel pins are put in and then slowly push the transaxle forward until the pins fit into the holes in the engine block. Screw the transaxle-to-engine bolts and make them as tight as possible without driving them into position. The remaining part of the installation procedure is done in the following order: Installation of the driveplate bolts must follow the removal of the bolts Installation of all the driveaxle and hub nuts and the wheel lug nuts Tightening of all the installed nuts Filling of the transaxle with the recommended lubricant Starting of the engine Putting on of the parking brake Shifting by the driver through all the gears three times in a cycle. Allow the engine to warm, check the oil level and repeat the procedure and do a road test to check for any sign of leakage.


