×
- Live Chat
- 1-888-984-2011

My Garage
My Account
Cart
Genuine Honda CR-V Tailgates
- Select Vehicle by Model
- Select Vehicle by VIN
Select Vehicle by Model
orMake
Model
Year
Select Vehicle by VIN
For the most accurate results, select vehicle by your VIN (Vehicle Identification Number).
18 Tailgates found
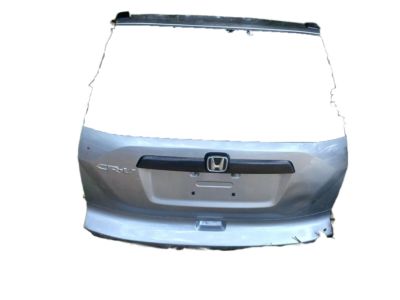
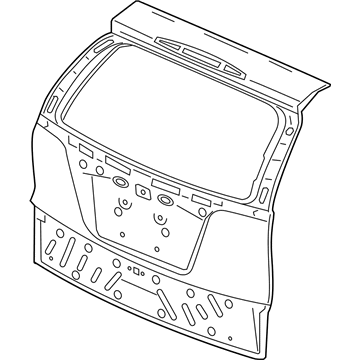
Honda CR-V Tail Gate Comp (DOT)
Part Number: 68100-T1W-A92ZZ$1019.20 MSRP: $1516.67You Save: $497.47 (33%)Honda CR-V Tail Gate Comp (DOT)
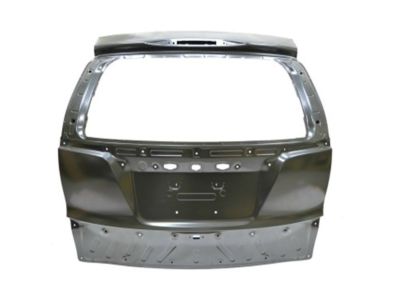
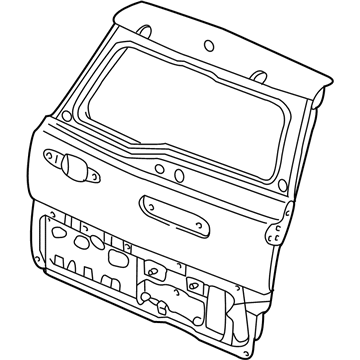
Part Number: 68100-T0J-A80ZZ$937.10 MSRP: $1352.23You Save: $415.13 (31%)Honda CR-V Tail Gate Comp (DOT)
Part Number: 68100-T0G-A73ZZ$877.22 MSRP: $1305.38You Save: $428.16 (33%)Honda CR-V Tail Gate,Comp (DOT)
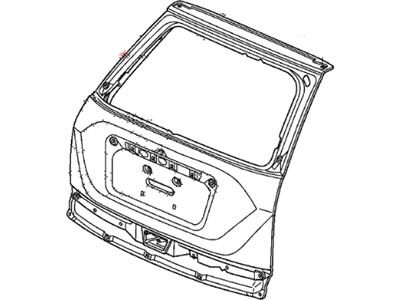
Part Number: 68100-T0G-305ZZ$937.10 MSRP: $1352.23You Save: $415.13 (31%)Honda CR-V Tail Gate Comp (DOT)
Part Number: 68100-T1W-A82ZZ$1005.42 MSRP: $1450.82You Save: $445.40 (31%)Honda CR-V Tail Gate Comp (D
Part Number: 68100-T0G-A80ZZ$937.10 MSRP: $1352.23You Save: $415.13 (31%)Honda CR-V Tail Gate Comp (DOT)
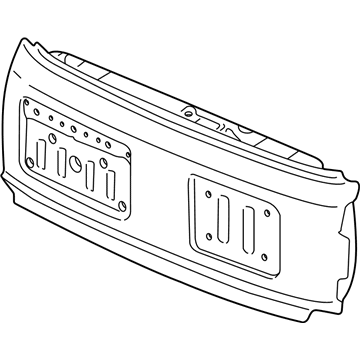
Part Number: 68100-T0J-A71ZZ$904.63 MSRP: $1305.38You Save: $400.75 (31%)Honda CR-V Gate (Lower) (DOT)
Part Number: 68700-S10-A91ZZ$633.92 MSRP: $895.37You Save: $261.45 (30%)
Honda CR-V Tailgates
In search of affordable OEM Honda CR-V Tailgates? Consider browsing through our extensive inventory of genuine Honda CR-V Tailgates. Not only do we provide market-leading prices and a manufacturer's warranty, but we also pride ourselves on exceptional customer service and swift delivery.
Honda CR-V Tailgates Parts Questions & Experts Answers
- Q: What steps are involved in replacing a tailgate and how to remove and install Tailgate Lift Support on Honda CR-V?A: To replace the tailgate, at least two people are needed due to its heavy and awkward nature. Begin by raising and supporting the tailgate, then remove the trim panels to access the hinge bolts. Disconnect the electrical connections and the rear wiper washer hose, and with assistance, remove the Tailgate Lift Support before taking out the hinge bolts, being cautious as the tailgate is heavy when removing the last bolt. Installation follows the reverse order, ensuring proper alignment after installation. For alignment, remove the striker trim cap from the rear trim panel, loosen the striker plate and tailgate hinges just enough to shift the tailgate, then gently close it to check body lines. Use a plastic wedge or flat-bladed trim tool to adjust the tailgate into alignment, open it again, and tighten the striker and hinge bolts, followed by a recheck of the alignment. Adjust the door stops so that the door rests on them without applying pressure when latched, and readjust if necessary. For trim removal, note that all trim is held in place with pressure clips except for the hand grab pocket, which is secured by one screw; grasp the edges firmly and pull outward to remove. Installation is the reverse of removal. For Tailgate Lift Support replacement, gently pry the retaining clip off the strut socket with a small pocket screwdriver, then pull the Tailgate Lift Support from the ball socket while supporting the tailgate. Some replacement Tailgate Lift Supports may come with the ball socket already installed; in such cases, unscrew the ball socket from the body and door to replace the Tailgate Lift Support, tightening to 16 ft-lbs. Finally, install the replacement Tailgate Lift Supports and snap the retaining clip into place, ensuring the door opens and closes correctly.
Related Honda CR-V Parts
Browse by Year
2024 Tailgates 2023 Tailgates 2022 Tailgates 2021 Tailgates 2020 Tailgates 2019 Tailgates 2018 Tailgates 2017 Tailgates 2016 Tailgates 2015 Tailgates 2014 Tailgates 2013 Tailgates 2012 Tailgates 2011 Tailgates 2010 Tailgates 2009 Tailgates 2008 Tailgates 2007 Tailgates 2006 Tailgates 2005 Tailgates 2004 Tailgates 2003 Tailgates 2002 Tailgates 2001 Tailgates 2000 Tailgates 1999 Tailgates 1998 Tailgates 1997 Tailgates


