×
- Live Chat
- 1-888-984-2011

My Garage
My Account
Cart
Genuine Honda Accord Instrument Panel
- Select Vehicle by Model
- Select Vehicle by VIN
Select Vehicle by Model
orMake
Model
Year
Select Vehicle by VIN
For the most accurate results, select vehicle by your VIN (Vehicle Identification Number).
177 Instrument Panels found
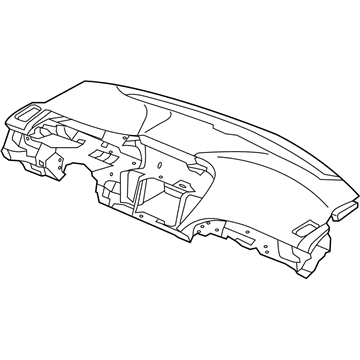
Honda Accord Panel, Instrument *NH900L* (DEEP BLACK)
Part Number: 77100-TVA-A00ZA$431.07 MSRP: $622.03You Save: $190.96 (31%)Honda Accord Panel Com*NH167L*
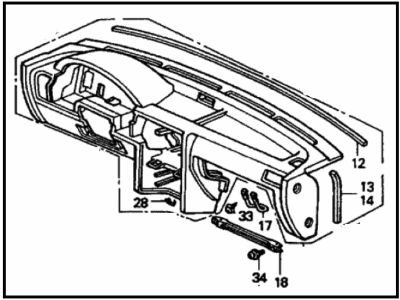
Part Number: 77100-T2F-A00ZA$719.46 MSRP: $1038.18You Save: $318.72 (31%)Honda Accord Panel, Instrument *NH900L* (DEEP BLACK)
Part Number: 77100-TVA-A10ZA$431.07 MSRP: $622.03You Save: $190.96 (31%)Honda Accord Panel Com*NH167L*
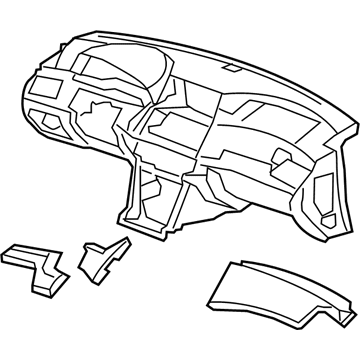
Part Number: 77100-T2F-A10ZA$719.46 MSRP: $1038.18You Save: $318.72 (31%)Honda Accord PANEL COMP *NH900L*
Part Number: 77100-30B-A00ZA$823.85 MSRP: $1188.82You Save: $364.97 (31%)Honda Accord Pad, Driver Middle (Inner) *NH167L* (GRAPHITE BLACK)
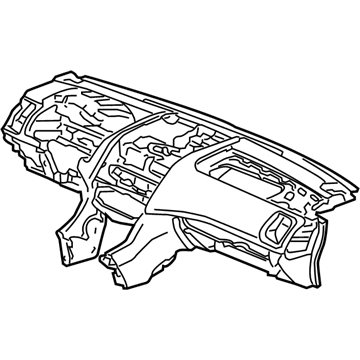
Part Number: 77103-TA5-A00ZA$129.67 MSRP: $184.72You Save: $55.05 (30%)Honda Accord Panel Assy., Instrument Center*NH167L* (GRAPHITE BLACK)
Part Number: 77250-S84-A01ZA$190.42 MSRP: $312.00You Save: $121.58 (39%)Honda Accord Pad, Instrument Panel (A)
Part Number: 77112-S84-A00$8.18 MSRP: $11.55You Save: $3.37 (30%)Honda Accord Pad, Driver Middle (Inner) *NH597L* (DARK ATLAS GRAY)
Part Number: 77103-TA5-A00ZB$23.10 MSRP: $63.10You Save: $40.00 (64%)Honda Accord PANEL COMP *NH900L*
Part Number: 77100-30A-A00ZB$823.85 MSRP: $1188.82You Save: $364.97 (31%)Honda Accord Panel Assy., Instrument *NH167L* (GRAPHITE BLACK)
Part Number: 77100-SM4-A00ZA$816.42 MSRP: $1178.10You Save: $361.68 (31%)Honda Accord Panel Assy *NH167L*
Part Number: 77100-TA5-A01ZA$1033.52 MSRP: $1491.37You Save: $457.85 (31%)Honda Accord Panel, Instrument *NH167L* (GRAPHITE BLACK)
Part Number: 77100-T3V-A10ZA$1396.71 MSRP: $2015.45You Save: $618.74 (31%)Honda Accord Pad, Driver Middle (Outer) *NH167L* (GRAPHITE BLACK)
Part Number: 77102-TA0-A00ZA$166.33 MSRP: $236.93You Save: $70.60 (30%)Honda Accord Panel Assy., Instrument (Typeb) (Gray/Black)
Part Number: 77100-SDC-A11ZB$340.08 MSRP: $928.72You Save: $588.64 (64%)Honda Accord Panel Assy., Instrument *NH167L* (GRAPHITE BLACK)
Part Number: 77100-SDA-A01ZA$564.84 MSRP: $815.07You Save: $250.23 (31%)Honda Accord Panel Assy., Instrument *B44L* (PALMY BLUE)
Part Number: 77100-SM4-A00ZC$716.70 MSRP: $1034.20You Save: $317.50 (31%)Honda Accord Panel Assy., Instrument *NH686L* (LIGHT WARM GRAY)
Part Number: 77100-TA5-A01ZG$1151.33 MSRP: $1661.37You Save: $510.04 (31%)Honda Accord Pad, Driver Middle (Outer) *NH597L* (DARK ATLAS GRAY)
Part Number: 77102-TA5-A00ZB$9.63 MSRP: $19.72You Save: $10.09 (52%)
| Page 1 of 9 |Next >
1-20 of 177 Results
Honda Accord Instrument Panel
In search of affordable OEM Honda Accord Instrument Panel? Consider browsing through our extensive inventory of genuine Honda Accord Instrument Panel. Not only do we provide market-leading prices and a manufacturer's warranty, but we also pride ourselves on exceptional customer service and swift delivery.
Honda Accord Instrument Panel Parts Questions & Experts Answers
- Q: What challenges do home mechanics face when removing the instrument panel, and what steps should be taken to ensure successful reassembly on Honda Accord?A: This procedure is particularly difficult for the do-it-yourselfer because of hidden bolts and screws, difficult to reach areas and numerous electrical connectors which must be labeled and disconnected. It is thus encouraged that only experienced persons should carry out this task. Specifically when doing the instrument panel pulling it out, one should take time, write down how each part comes off, the position of each part to another and how it fits. Even as standard, it is possible to remove the both of front seats which will give you even more working space and will help you avoid potential damages. First, remove the negative terminal of the battery then, take out the steering wheel, center floor console, dashboard trim, and front pillar trim. Subsequently, to free up the steering gear: Unbolt the steering intermediate shaft from the steering gear input shaft; Unbolster the side kick panels; Pull out the right dashboard side cover; Remove the glove box; Pull out the radio and the heater control assembly; And, finally, remove the rear vent ducts. All instrument panel electrical connectors have to be removed, perhaps, some should be marked to be reconnected later. Unbolt the lower centre section of the instrument panel and the other fastenings posted on the remainder section. Gently push back the instrument panel and, if necessary, disconnect the electrical connectors coming in the way; after disconnecting all of them, pull the panel and take it out through the driver's door, preferably, with some help. Reinstallation is done in the reverse of the disconnection process and it ends with plugging in a battery.
Related Honda Accord Parts
Browse by Year
2024 Instrument Panel 2023 Instrument Panel 2022 Instrument Panel 2021 Instrument Panel 2020 Instrument Panel 2019 Instrument Panel 2018 Instrument Panel 2017 Instrument Panel 2016 Instrument Panel 2015 Instrument Panel 2014 Instrument Panel 2013 Instrument Panel 2012 Instrument Panel 2011 Instrument Panel 2010 Instrument Panel 2009 Instrument Panel 2008 Instrument Panel 2007 Instrument Panel 2006 Instrument Panel 2005 Instrument Panel 2004 Instrument Panel 2003 Instrument Panel 2002 Instrument Panel 2001 Instrument Panel 2000 Instrument Panel 1999 Instrument Panel 1998 Instrument Panel 1997 Instrument Panel 1996 Instrument Panel 1995 Instrument Panel 1994 Instrument Panel 1993 Instrument Panel 1992 Instrument Panel 1991 Instrument Panel 1990 Instrument Panel 1989 Instrument Panel 1988 Instrument Panel 1987 Instrument Panel 1986 Instrument Panel 1985 Instrument Panel 1984 Instrument Panel 1983 Instrument Panel 1982 Instrument Panel 1981 Instrument Panel 1980 Instrument Panel 1979 Instrument Panel 1978 Instrument Panel 1977 Instrument Panel 1976 Instrument Panel


