×
- Live Chat
- 1-888-984-2011

My Garage
My Account
Cart
Genuine Honda Accord Car Mirror
Interior Rear View Mirror- Select Vehicle by Model
- Select Vehicle by VIN
Select Vehicle by Model
orMake
Model
Year
Select Vehicle by VIN
For the most accurate results, select vehicle by your VIN (Vehicle Identification Number).
848 Car Mirrors found
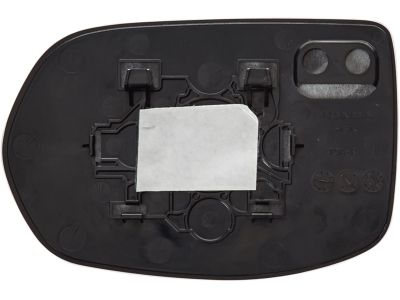
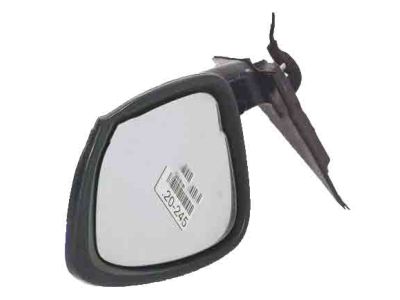
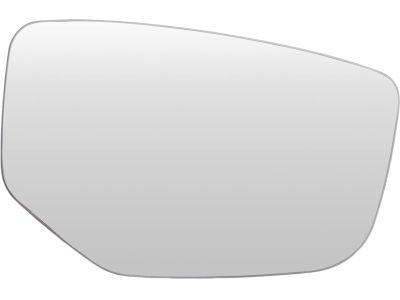
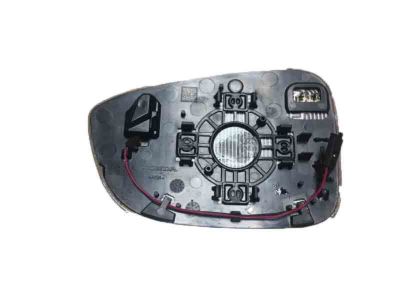
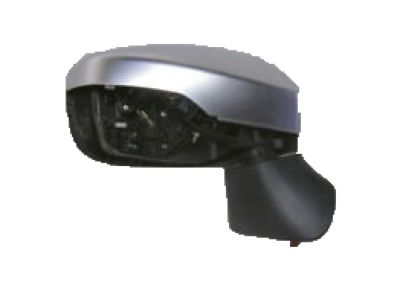
Honda Accord Mirror Sub-Assembly, Passenger Side (R1000)
Part Number: 76203-TVA-A01$50.61 MSRP: $86.30You Save: $35.69 (42%)Honda Accord Mirror Assembly, Rearview (Day/Night)
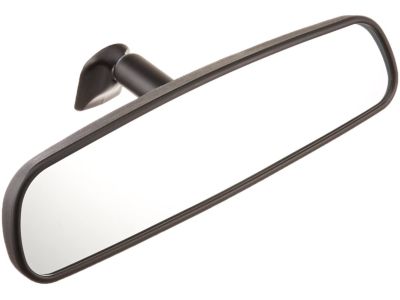
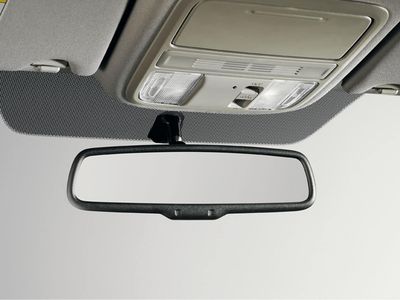
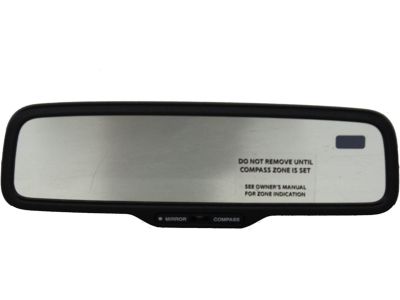
Part Number: 76400-SDA-A03$23.64 MSRP: $33.38You Save: $9.74 (30%)Honda Accord Mirror Assembly, Rearview (Day/Night)
Part Number: 76400-SEA-305$29.65 MSRP: $41.88You Save: $12.23 (30%)Honda Accord Mirror Assembly, Rear View
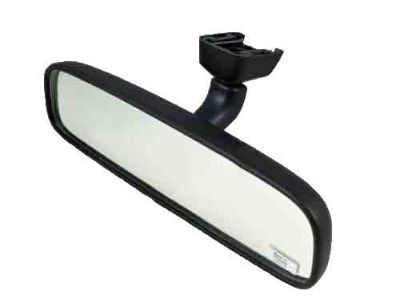
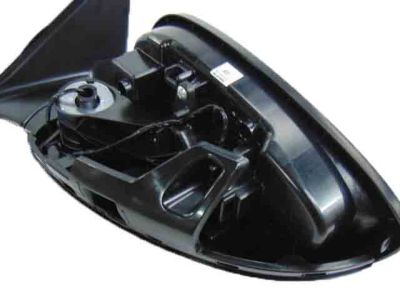
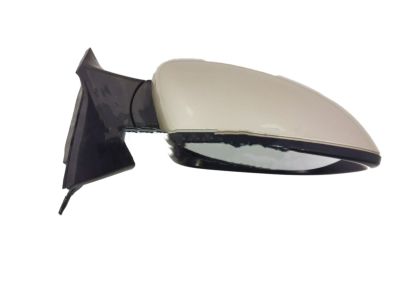
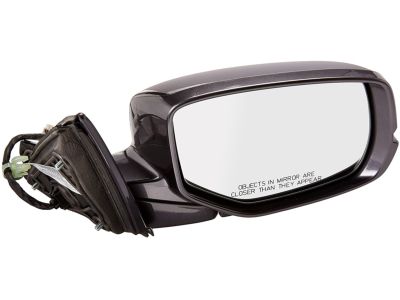
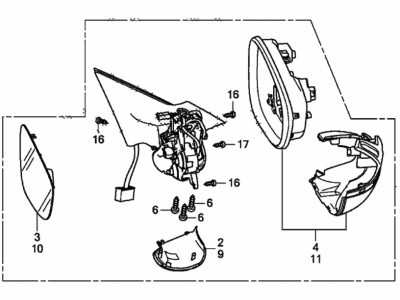
Part Number: 76400-TF0-A01$30.04 MSRP: $42.43You Save: $12.39 (30%)Honda Accord Set Passenger Side, Mirror Assembly
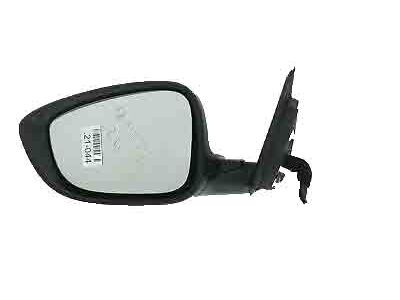
Part Number: 76208-TVA-A02$203.98 MSRP: $298.22You Save: $94.24 (32%)Honda Accord Set Driver Side, Mirror Assembly
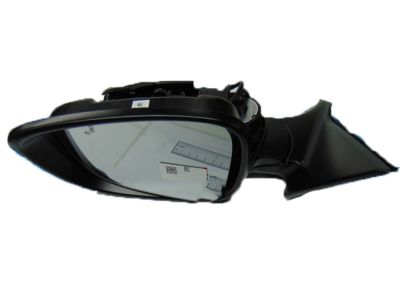
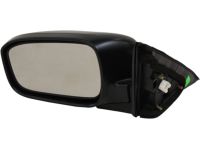
Part Number: 76258-TVA-A02$203.98 MSRP: $298.22You Save: $94.24 (32%)Honda Accord Set Driver Side, Mirror Assembly
Part Number: 76258-TVA-A42$321.01 MSRP: $457.28You Save: $136.27 (30%)Honda Accord Set Passenger Side, Mirror Assembly
Part Number: 76208-TVA-A22$237.39 MSRP: $338.17You Save: $100.78 (30%)Honda Accord Set Passenger Side, Mirror Assembly
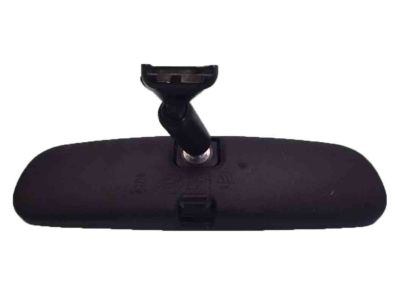
Part Number: 76208-TVA-A42$346.58 MSRP: $493.70You Save: $147.12 (30%)Honda Accord Automatic Dimming Mirror
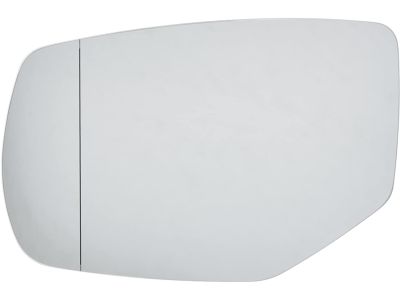
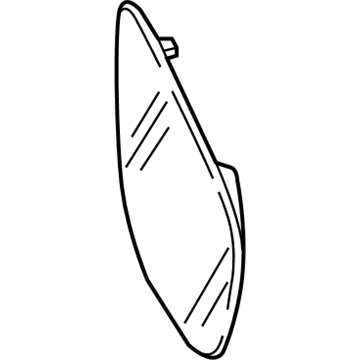
Part Number: 76400-SZA-A22$116.35 MSRP: $164.33You Save: $47.98 (30%)Honda Accord Mirror Sub-Assembly, Driver Side (Flat) (Heated)
Part Number: 76253-TVA-A21$138.07 MSRP: $196.68You Save: $58.61 (30%)Honda Accord Automatic Dimming Mirror
Part Number: 08V03-TR0-100A$190.48 MSRP: $269.00You Save: $78.52 (30%)Honda Accord Set Driver Side, Mirror Assembly
Part Number: 76258-TVA-C02$203.98 MSRP: $298.22You Save: $94.24 (32%)Honda Accord Mirror Assembly, Passenger Side Door (Modern Steel Metallic) (R.C.) (Heated)
Part Number: 76200-T2G-A42ZA$417.19 MSRP: $602.00You Save: $184.81 (31%)Honda Accord Set Driver Side, Mirror Assembly
Part Number: 76258-TVA-A22$237.39 MSRP: $338.17You Save: $100.78 (30%)Honda Accord Set Passenger Side, Mirror Assembly
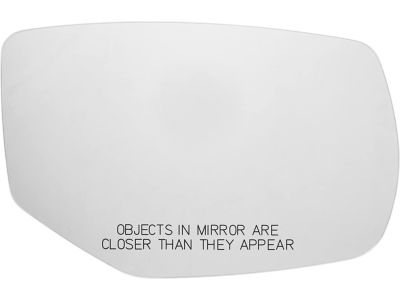
Part Number: 76208-TVA-C02$209.35 MSRP: $298.22You Save: $88.87 (30%)Honda Accord Mirror Sub-Assembly, Passenger Side (R1000) (Heated)
Part Number: 76203-TVA-A21$138.28 MSRP: $196.98You Save: $58.70 (30%)
| Page 1 of 43 |Next >
1-20 of 848 Results
Honda Accord Car Mirror
In search of affordable OEM Honda Accord Car Mirror? Consider browsing through our extensive inventory of genuine Honda Accord Car Mirror. Not only do we provide market-leading prices and a manufacturer's warranty, but we also pride ourselves on exceptional customer service and swift delivery.
Honda Accord Car Mirror Parts Questions & Experts Answers
- Q: How do you install outside and inside mirrors on Honda Accord?A: For outside mirrors, installation involves reversing the removal process, descend the window further, remove the mirror trim plate, disconnect the electrical connection and then unscrew the four nuts. Pull out the electrical connection if used, then take out the bolts and unscrew the mirror and then remove the clips and the trim circle around the shin. In regards with inside mirrors in the previous year models, the mirror base of which must be rotated 90 degrees, the mirror has to be slid downwards at the bottom of the Windshield in order to disengage it from the mounting bracket, and the final step is to return the support base of inside mirrors to the windshield after which clean the glass and put the inside mirror back on with a special mirror adhesive kit. For all years 2013 and up with out auto dimming or camera unit, turn in the trim cover at the base of the mirror and at the side hook of the mount pull down to allow the mirror base to slide down and off. For the models that have automatic dimming or a camera unit, employ the trim tool to pry the cover open and twist the electrical connectors loose also if your model has a trim cover around the camera unit, carefully pull it out, before turning the Tone screw and pulling the mirror base loose.
Related Honda Accord Parts
Browse by Year
2024 Car Mirror 2023 Car Mirror 2022 Car Mirror 2021 Car Mirror 2020 Car Mirror 2019 Car Mirror 2018 Car Mirror 2017 Car Mirror 2016 Car Mirror 2015 Car Mirror 2014 Car Mirror 2013 Car Mirror 2012 Car Mirror 2011 Car Mirror 2010 Car Mirror 2009 Car Mirror 2008 Car Mirror 2007 Car Mirror 2006 Car Mirror 2005 Car Mirror 2004 Car Mirror 2003 Car Mirror 2002 Car Mirror 2001 Car Mirror 2000 Car Mirror 1999 Car Mirror 1998 Car Mirror 1997 Car Mirror 1996 Car Mirror 1995 Car Mirror 1994 Car Mirror 1993 Car Mirror 1992 Car Mirror 1991 Car Mirror 1990 Car Mirror 1989 Car Mirror 1988 Car Mirror 1987 Car Mirror 1986 Car Mirror 1985 Car Mirror 1984 Car Mirror 1983 Car Mirror 1982 Car Mirror 1981 Car Mirror 1980 Car Mirror
