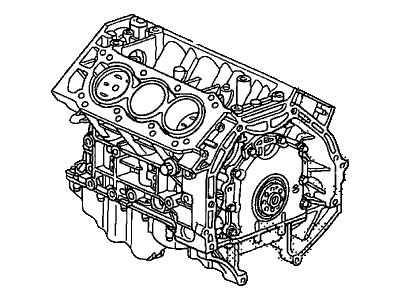
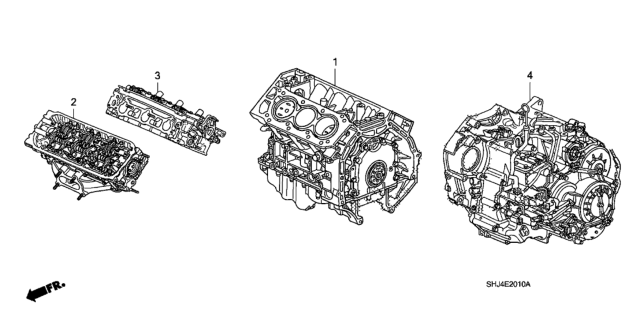
As is always the case with these models, the process of the engine removal can be a quite complicated, especially for the individual mechanic. As the vehicle was designed, the engine fixed with the transaxle has to be withdrawn from the bottom, so it requires a frame-contact type of vehicle hoist to support it. Start with having the air conditioning system discharged, then manoeuvre the car into the hoist, set the jack on the jacking point and lift it up until the lifting arm touches the car without having to lift the wheels off the ground. , release fuel system pressure, cover fenders up and take off the hood. Next step to have the intake manifold cover off and the ignition coil assembly cover off as well as the air filter housing and lastly the accelerator cable with its bracket. Batteries and trays have to be detached, and many cables have to be disconnected including the engine harness connectors, the vacuum lines, emissions hoses and the wiring harness connectors have to be unlabeled. Remove fuel rail lines, loosen the front wheel bolts, drain the cooling system and engine oil and finally remove the drive belts. While retaining, proceed to uninstalling some of the device; the starter, power steering pump, the lower part of the radiator hose, and the heater hoses should be removed too, followed by removing the upper part of the radiator hose, and the links for the stabilizer bar. Lower ball joints to be disconnected, drive axles to be removed, cooling fan(s) as well as the shroud(s) and the radiator also to be removed, shift cable and all the wiring harness connectors to be disconnected at the transaxle. Take out nuts of transaxle mount and power steering gear mounts, lift the vehicle, take out the front wheels and detach the transaxle fluid hoses. Disconnect the downstream oxygen sensor, unscrew the exhaust pipe, eliminate the coolant by-pass pipes as well as the torque converter fastenings. Place the car on a floor jack, and un-bolt the engine mounts After that, put the sling or the chain on the engine and transaxle to counter balance the load. Swing the hoist into position, check for any loose strands holding the engine in place and remove them, grab the loose ends of the hoist cables and pull until all the slack is on your side. Check the location of the subframe, unbolt the upper engine mount and the subframe brackets and lower the assembly on jack stands. Loose the hoist and lift the vehicle and then place blocks or another jack to support the engine and the transaxle. Slack off the transaxle and then unbolt and take out the transaxle then reattach the lifting chain and lift the engine to secure it to an engine stand. For installation reverse all the removal steps, also inspect the mounts for wear, join the transaxle to the engine, fill it with necessary fluids, make sure the subframe marks are aligned, tighten all the bolts to the recommended torque, then join the negative terminal of the battery last.
Posted by HondaPartsNow Specialist 


