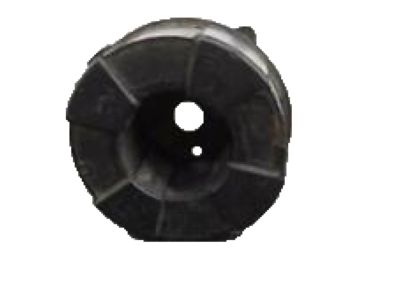
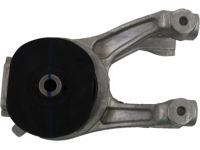
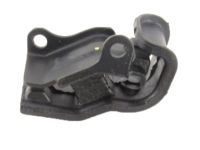
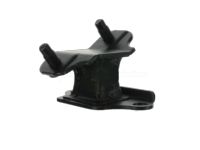
There are four engine mounts on these vehicles, with the front mount on models not equipped with the Active Engine Mount system being computer controlled and operated by engine vacuum, while the front and rear mounts are electrically operated on vehicles with the system. During the check, the engine must be raised slightly to remove the weight from the mounts. To do this, raise the vehicle and support it securely on jackstands, then position a jack under the engine oil pan with a large block of wood between the jack head and the oil pan, carefully raising the engine just enough to take the weight off the mounts. Inspect the mounts for any cracks, hardened rubber, or separation from the casing, and check for relative movement between the mount plates and the engine or frame using a large screwdriver or prybar; if movement is noted, lower the engine and tighten the mount fasteners. Applying rubber preservative can help slow deterioration. Ensure the parking brake is applied, block the rear wheels, and raise the front of the vehicle, supporting it securely on jackstands if not already done. For replacement, on 2007 and later models with Variable Cylinder Management, disconnect the wiring from each engine mount/actuator before removing the fasteners. For the right mount, use a floor jack to take the weight from the mount, remove the through-bolt and the bolts holding the engine bracket, then remove the three mount-to-chassis bolts and the mount itself, with installation being the reverse of removal and bolts tightened to specifications only after the power train weight is back onto the mounts. The left mount is located between the bottom of the transaxle and the subframe; remove the two upper and two lower mounting bolts, then remove the mount with the engine/transaxle supported, again installing in reverse order and tightening bolts securely after the power train weight is back on the mounts. The front mount is located between the engine and radiator; remove the large nut and four bolts holding the mount to the chassis, disconnect the vacuum hose, raise the engine to clear the upper bracket, and remove the mount, with installation being the reverse and bolts tightened to specifications afterward. The rear mount is positioned between the subframe and the engine above the catalytic converter; remove the large nut and through bolt, then the four bolts holding the mount to the subframe, raise the engine to clear the upper bracket, and remove the mount, with installation in reverse order and bolts tightened securely afterward. For final tightening of all mounts, ensure the vehicle is level and the engine weight is on the mounts, using non-hardening thread locking compound on the nuts/bolts, ensuring that the bushings are not twisted or offset, and if multiple mounts have been replaced or during engine installation, tighten in the order of front, rear, passenger-side, and driver's side.
Posted by HondaPartsNow Specialist 
