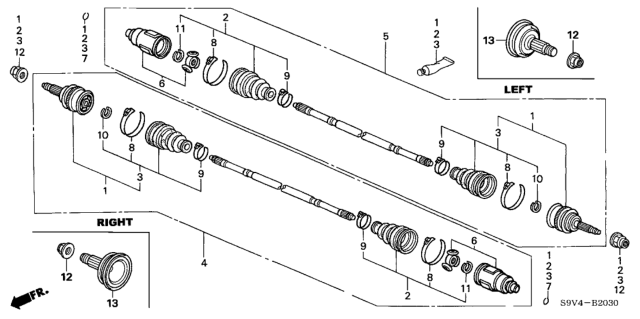
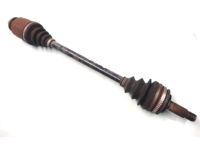
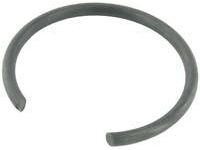
If CV joints or boots need replacement, consider all available choices before starting. Rebuilt CV boots are available on an exchange basis, which can save time and effort. Ensure parts' cost and availability before disassembling the vehicle. For the front drive axle's inner CV joint, first, remove the drive axle. When mounting the axle in a vise with wood-lined jaws, check the CV joints for play or smooth operation. If a boot is torn, disassemble the joint, clean it, and inspect for damage. Lubricate with CV joint grease and install a new boot if the joint is in good condition. Cut the boot clamps with side-cutters, discard them, and carefully expose the tri-pot assembly. Mark the joint housing's relationship to the tri-pot, and then pull off the housing. Hold the rollers in place to prevent them from falling. Remove the tri-pot assembly snap-ring using snap-ring pliers. Mark the tri-pot's relationship to the axle shaft for proper reassembly. Use a hammer and brass drift to remove the tri-pot from the shaft, then slide off the boot. Clean all components with solvent and inspect for wear. If worn, replace the entire joint or potentially the whole drive axle assembly. For right-side drive axles, check the center bearing. If rough or noisy, replace the bearing at an automotive machine shop. Wrap the axle shaft's splines with tape, slide on the clamps and boot, and assemble as noted earlier. Ensure the boot is positioned correctly, equalize the pressure inside, and ensure proper seating. Install the boot clamps, which may be of various types, using appropriate tools. The drive axle is ready for installation. For the outer CV joint, follow the same removal process and use illustrations to guide the replacement procedure. For the rear drive axle, start by removing the drive axle. Open the boot clamps' locking tabs, remove them, and slide back the boot. Pry open the wire ring ball retainer, remove the outer race, and clean the inner bearing. Remove the snap-ring and slide off the inner bearing assembly. Mark the inner race and cage for proper reassembly. Clean, inspect, and reassemble as noted. When reassembling, ensure correct positioning, lubrication, and clamping. Install the drive axle assembly.
Posted by HondaPartsNow Specialist 


