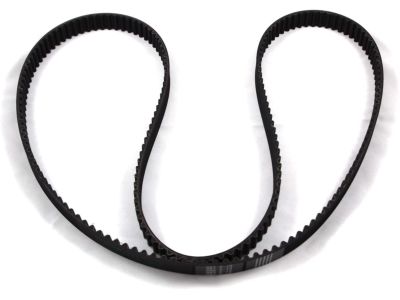
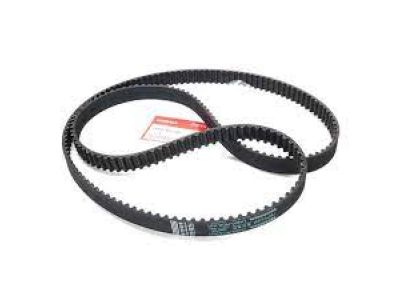
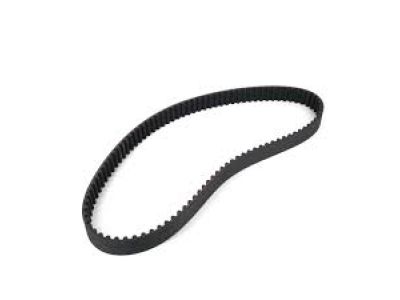
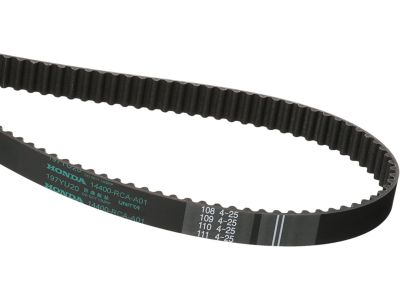
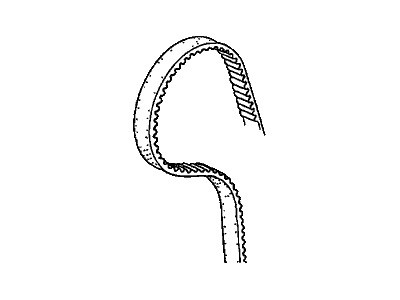
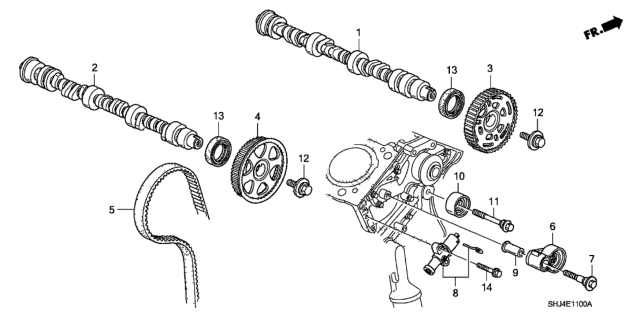
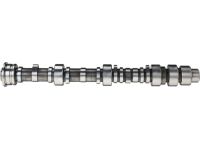
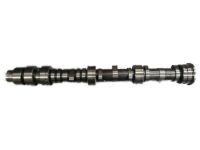
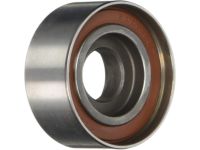
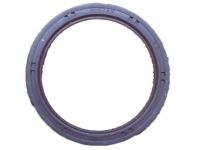
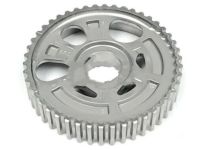
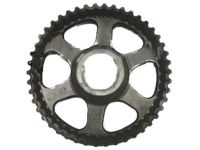
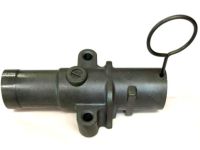
If these components are to be removed, one should be careful and first, disconnect the cable from the negative terminal of the battery. Engage the transaxle to park or neutral and apply the stopper button of the car then steer the wheels and castor back so that they are blocked. Spin off the drivebelts, and the power steering pump if it can be done without disconnecting the power steering lines, and set the assembly aside. To enable you turn the crankshaft and get the number one piston at TDC, you have to temporarily take out spark plugs. Unwind the lug nuts of the right front wheel, lift the front part of your vehicle, and set it on two jackstands before detaching the right front wheel. The right front inner fender splash guard has to be taken off again, and the engine has to be supported with a floor jack in such a manner that the jack stands on the oil pan and is protected by a wooden block. Moving right side of the vehicle, remove the splash shield below the radiator next, unbolt the passenger side engine mount with a wiring harness retainer to the block, then, the through-bolt and the mount and the bracket which also holds the dipstick tube. Remove the upper timing belt covers, if reusing the belt, mark the belt for direction of rlation and align the timing marks. The crankshaft pulley should be removed using a strap wrench, while tight and trying to verify the timing marks one more time after getting it loose. Take the lower timing belt cover and thereby slot the timing belt guide away from the crankshaft sprocket and note where it is properly placed. The timing belt adjuster can be secured with a long hold-down bolt from the battery tray, while the engine mount bracket has to be removed and the idler pulley bolt loosened before finally removing the timing belt. The camshaft sprockets can actually be pulled out of the motorcycle if they have been damaged while the crankshaft sprocket can be taken off the motorcycle if worn or if the front oil seal is being replaced. Look at the sprockets of teeth, timing belt as well as the camshaft and any indications of wear or damage, then determine the condition of the timing belt tensioner and replace any bad parts. Remove any gasket material from the area surrounding the timing belt and on the sprockets and clean the timing belt area and sprocket teeth, where applicable re-install the sprockets with there keys and tighten the bolts using new nuts. Double check the timing marks and then fit the timing belt in an anti clockwise direction, but make sure the forwards facing arrow is pointing in the correct direction. Put back the outer timing belt guide, Torque the idler pulley bolt and then remove the battery hold-down bolt. Twist the crankshaft anticlockwise with your fingers six rotations to ensure that the belt takes its rightful position then rotate the crank back to TDC to ensure that the timing marks align. Place the lower timing belt cover back and then put the crankshaft pulley with fixing the key way and tightening the bolts. Adjust the timing marks properly before reinstalling the other components in the reverse manner and joining the battery again. For tensioner adjustment, if tensioner was removed, then pull it and lock it with a suitable pin. If you have no special tool for the task, then use the adjustable pliers together with the plastic wire tie in order to compress the piston. The service bolt has to be reinstalled into the tensioner while ensuring that the wire tie is not removed from its position, then the mounting bolts have to be tightened to something like 9-12 ft-lbs. Finally, to remove the tensioner, which was used during the timing belt installation, trim the wire tie at appropriate length on belt.
Posted by HondaPartsNow Specialist 
